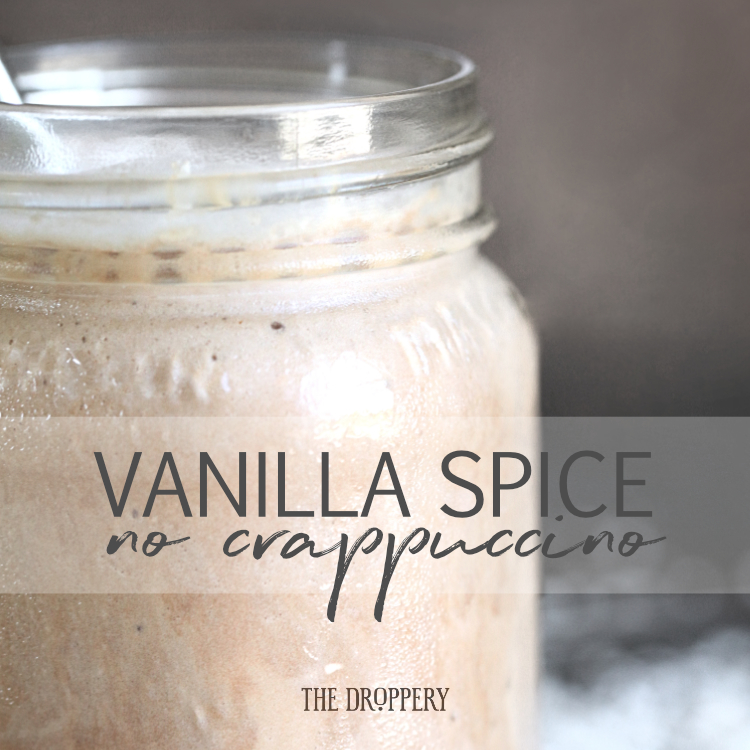
Vanilla Spice No-Crappuccino
vanilla_spice_no_crappuccino.jpg

It’s getting warmer and warmer outside and for many people this means running to the nearest Starbucks and indulging in a high-calorie frappuccino full of ingredients that are less-than-healthy. I love to wake up and enjoy Mud Tea every morning, but I live in Texas and a hot drink to kick off a hot day doesn’t quite cut it for me. So, I present this Mud Tea inspired COLD drink that will sustain your energy in a delicious way with only good ingredients. You’ll love it. No crappuccino.

I know that it’s a tall (make that Venti) order to ask you to give up your beloved frappuccino, but trust me when I say that you are doing yourself NO favors gulping one of those down. It’s a whipped heart-attack with crazy amounts of sugar and expensive add-ons to make it even worse for you! Plus, the more expensive you make it, the worse it is for you! It’s literally the most expensive drink on the menu and if you are still buying fraps, it may be time to rethink that and call it what it is. Crap.

vanilla_spice_no_crappuccino_3.jpg

So, let’s get down to why this NO CRAPpuccino is the answer.  It’s full of protein, vitamins, minerals, healthy fats and good taste. Also, your cup of it won’t cost you your health, waistline and savings. The building block of this delicious get-up-and-go drink is Young Living’s Vanilla Spice Pure Protein Complete, which is amazing! It smells like a cinnamon roll and tastes similarly divine. Let’s delve into the recipe, then read on below to find out why we chose the ingredients we did and what they’re going to do for you!

WHAT YOU’LL NEED:

optional add-ons we highly recommend:

HOW TO MAKE IT

  1. Put your Vanilla Spice Pure Protein Complete, salt, and any recommended add-ons (except the essential oils & coconut flakes) into the blender and cover with the hot water, tea, or espresso. Let it run until it’s mixed up nicely.
  2. Add the coconut creamer, raw maple syrup or honey, vanilla extract, and ice and blend until it’s thick and frothy.
  3. Adjust. Taste and adjust amounts to your liking! I cook like I’m sprinkling fairy dust and do not measure a thing. Dump things in and experiment.
  4. Pour into your glass, add essential oils, garnish with coconut flakes and enjoy!

notes: I use a VitaMix, which is a powerful beast of a blender. I cannot guarantee the perfect frappuccinno texture in other blenders. Also, be sure you do NOT add essential oils to your blender unless it is made of glass. Oils and plastic do not mix. If your blender is plastic, add the oils to your glass and stir to incorporate.

vanilla_spice_no_crappuccino_2.jpg

What’s so great about this No Crappuccinno anyway?

  • Pure Protein Complete – A comprehensive protein supplement that combines a proprietary 5-protein blend, amino acids, and ancient peat and apple extract to deliver 25 grams of protein per serving. Its foundation of protein from whey, goat’s milk, peas, egg whites, and organic hemp seed provides a full range of amino acids, including D-aspartic acid, threonine, L-serine, glutamic acid, glycine, alanine, valine, methionine, isoleucine, leucine, tyrosine, phenylalanine, lysine, histidine, arginine, proline, hydroxyproline, cystine, tryptophan, and cysteine, along with a proprietary enzyme blend. Ancient peat and apple extract, along with a powerful B-vitamin blend, complete the formula. Together they support ATP production, the energy currency of the body. This innovative formula makes Pure Protein Complete the perfect option for those looking for a high protein supplement that features a full range of amino acids.

Excellent source of protein (25 grams) • Provides a balance of amino acids • Supports ATP production* • Protein metabolism support • No trans fat • rBGH-free whey • Soy free

Ingredients Protein blend (rBGH-free whey protein concentrate, Goat whey protein concentrate, Egg albumin, Pea protein isolate, Organic hemp seed protein, and Sunflower lecithin), Organic evaporated cane juice crystals, Natural flavors, Xanthan gum, Amino acid blend (L-leucine, L-isoleucine, L-valine, L-methionine, L-lysine, and L-glutamine), Sodium chloride, Ancient peat, Apple extract, Zinc (Zinc picolinate), Enzyme complex (Alpha and Beta amylase, Protease, Lipase, Cellulase, Lactase and L. acidophilus, Papain, and Bromelain), Rebaudioside (Stevia rebaudiana), Biotin, Organic ground nutmeg, Vitamin B3 (Niacin), Vitamin B5 (d-Calcium pantothenate), Orange (Citrus sinesis)† rind oil, Vitamin B6 (Pyridoxine hydrochloride), Vitamin B1 (Thiamin hydrochloride), Lou han guo (Siraitia grosvenori) Fruit extract, Vitamin B2 (Riboflavin), Vitamin B12 (Methylcobalamin), and Folic acid † 100% pure, therapeutic-grade essential oil

  • Maple Syrup – Antioxidant rich with a lower glycemic index than most other sweeteners. Also provides zinc and manganese which support a healthy immune system, maintain a good metabolism and healthy blood sugar regulation!
  • Sea Salt – Includes vital minerals like sodium, potassium, calcium, magnesium, bromide, chloride, iron, copper, and zinc among other beneficial elements. The benefits for your well-being are seemingly endless. Plus, it adds rich flavor!
  • Cacao – Full of flavonoids and may lower your risk of serious disease. Also higher levels of antioxidants than black or green tea, and red wine. Also highly beneficial in promoting a healthy cardiovascular system. Not to mention that it contains magnesium, and other essential minerals such as calcium, sulfur, zinc, iron, copper, potassium, and manganese , as well as vitamins B1, B2, B3, B5, B9, C, and E. Pass the cacao?
  • Coconut Cream Concentrate is whole coconut meat in concentrated form. It is sometimes referred to as “coconut butter.” It contains no additives* (not even water). The dried coconut meat is ground very finely, giving it a creamy consistency due to its high fat content, much like other nut butters. Since it is 70% fat, it is a rich source of pure coconut oil.
  • Gelatin (collagen hydrolysate) – Loaded with protein and easily digested, gelatin is supportive of gut and joint health. Contains millions of essential amino acids and peptides which regulate cell function. Feeling of alertness, improved concentration, balanced mood, improved energy and increased sense of well-being have been reported! Because collagen hydrolysate dissolves in cold water, as well as hot, and will not congeal like regular gelatin, you can use this high-protein powder in endless ways!
  • Maca – Wonderfully supportive of balanced hormones, which could prove helpful for fertility, menopausal symptoms and PMS. Also supports happy skin, overall mood and sexual function. Maca is rich in vitamin B, C, and E. It provides plenty of calcium, zinc, iron, magnesium, phosphorous and amino acids. Because of all this, it gives a nice energy boost that can even improve athletic performance!

So, if you’re looking for a frap, be sure there is no crap. You’re sure to find it yummy and nourishing to your tummy. Okay, enough with the rhymes. It’s good. The ingredients are good. The benefit for your body will be good. Let’s all be good and drink No Crappuccinos. OR, if you’d rather drink something hot, delicious and nutrient dense, try my Creamy Mud Tea. It will not disappoint!

Don’t have a Young Living Membership yet? Contact me (bottom right of the screen) or the person who sent you here for more info on how to get your own. Want some right now? I don’t blame you. CLICK HERE and be sure to choose “wholesale” to get 24% off all your YL oils and products, as well as a bunch of other cool stuff!

10 Safety Tips for Using Essential Oils
10_safety_tips.jpg

YOUNG LIVING'S OILS ARE SO PURE AND POTENT, THAT WE MUST RESPECT THE DROPS LIKE THE LITTLE POWERHOUSES THAT THEY ARE. Don't worry, though! It's mostly common sense and becomes more and more intuitive as you begin to use your oils every day.

Here are a few safety suggestions that should get you off to a good start! Pay extra attention to #10! 

1. Store them in a cool, dark place with lids secure to maintain their properties.

2. Keep a carrier oil, like YL's V6 oil complex or coconut oil, on hand to dilute. If an oil is too strong on your skin, just apply some carrier oil and wipe off if necessary.

3. Always use glass containers with your oils, especially when drinking, since plastics contain chemicals that the oils will break down.

4. Only use YL's Vitality line internally. These are labeled just for internal use to make it easy!

5. For those with sensitive skin, it may be best to test a small area and wait 30 minutes before applying more. 

6. Keep oils away from eyes and never put them directly in your ears. Should oils irritate or get near the eyes, use a carrier oil (like YL's V6 oil complex or coconut oil) to remove the oil and lessen discomfort. NEVER use water.

7. Citrus oils are photosensitive and may cause a rash or darkening of skin if applied before direct sun exposure. As a general rule, wait 12 hours or after applying a citrus oil before going in the sun.

8. Those with epilepsy or high blood pressure should use caution when using high-ketone oils like basil, rosemary, sage or tansy. 

9. The bottom of the feet is a very safe place to apply your oils and is super efficient for getting the oils into your system.

10. RELAX! You can't really "mess up" using your oils. Experiment, see what you like and give yourself lots of opportunity to see just how incredible and versatile these oils really are! 

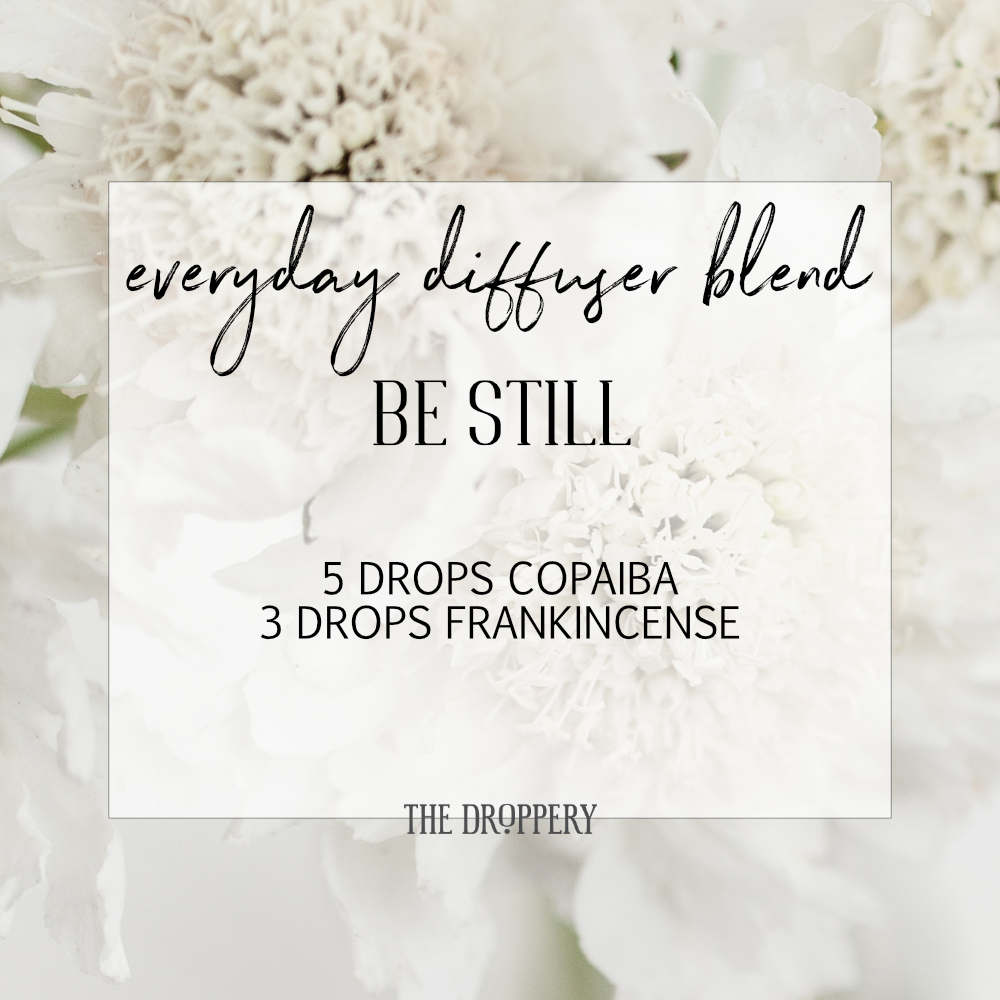
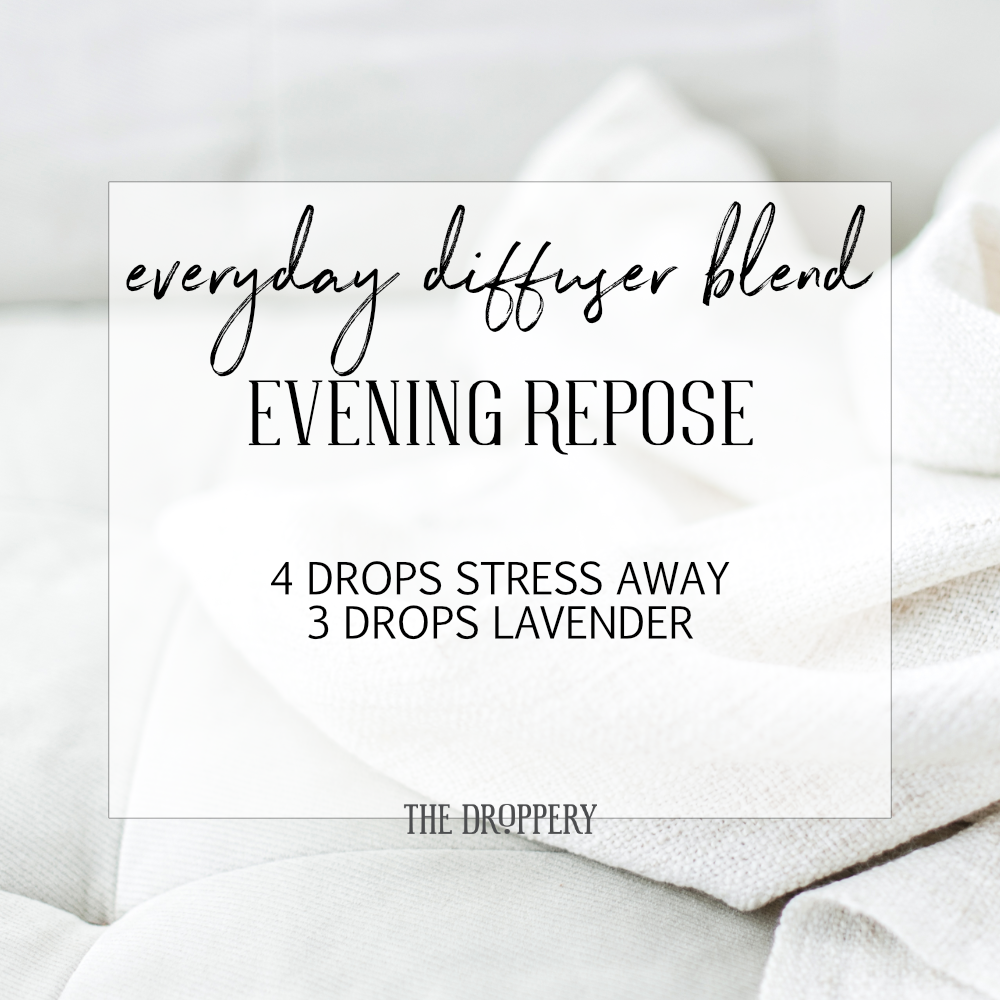
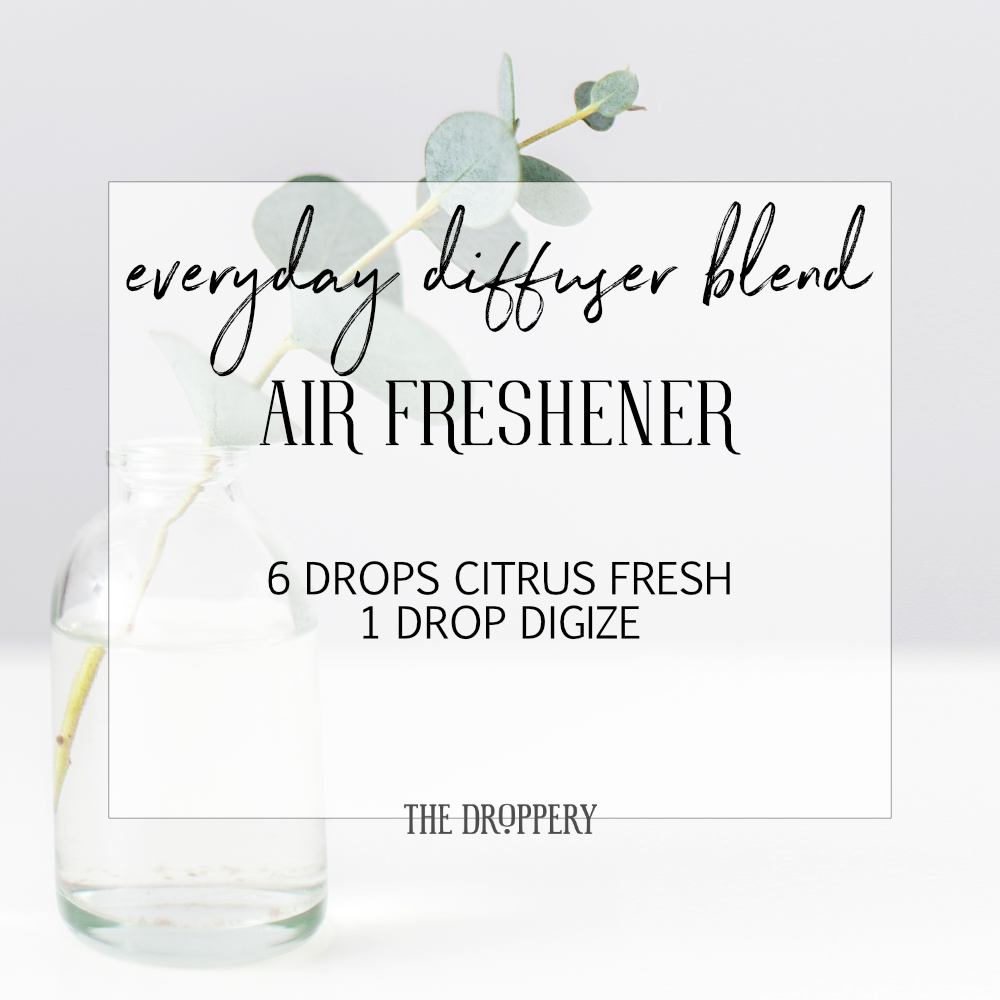
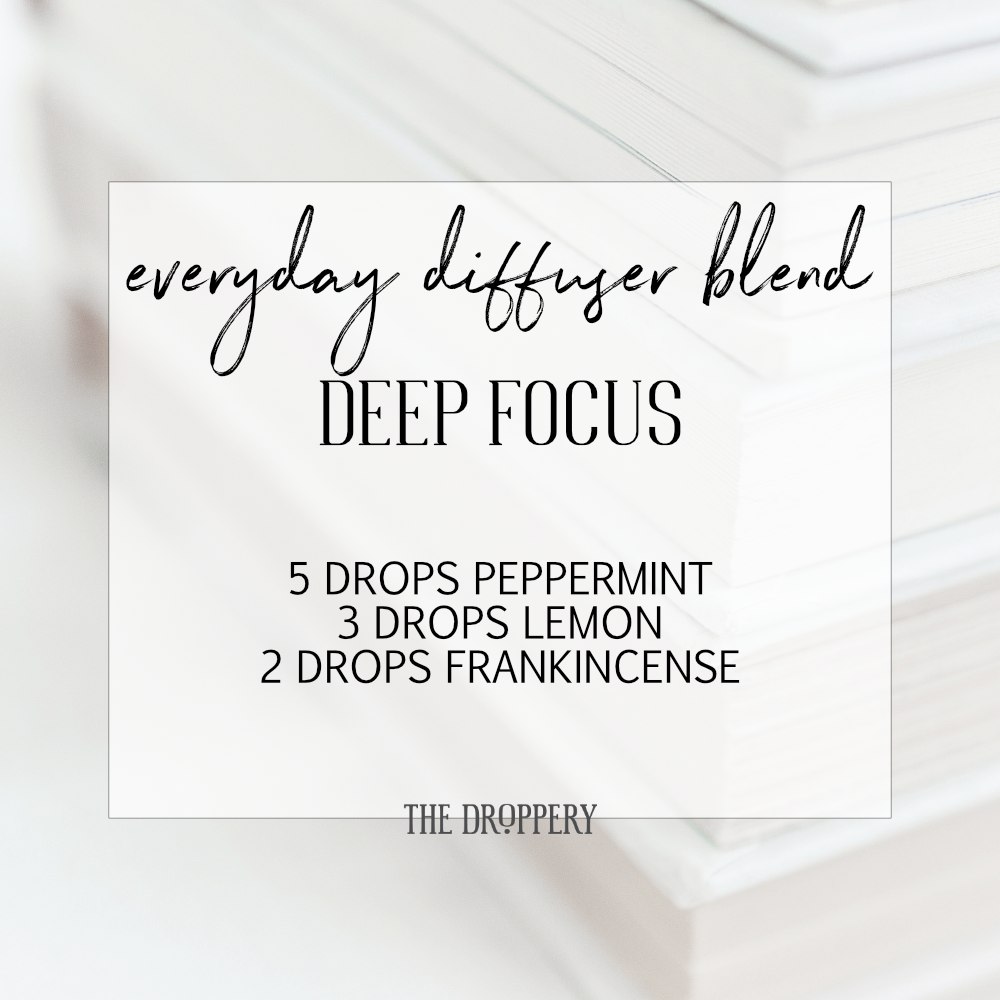
Everyday Diffuser Blends | With the Premium Starter Kit Oils
Everyday_Diffuser_Blends_cover.png

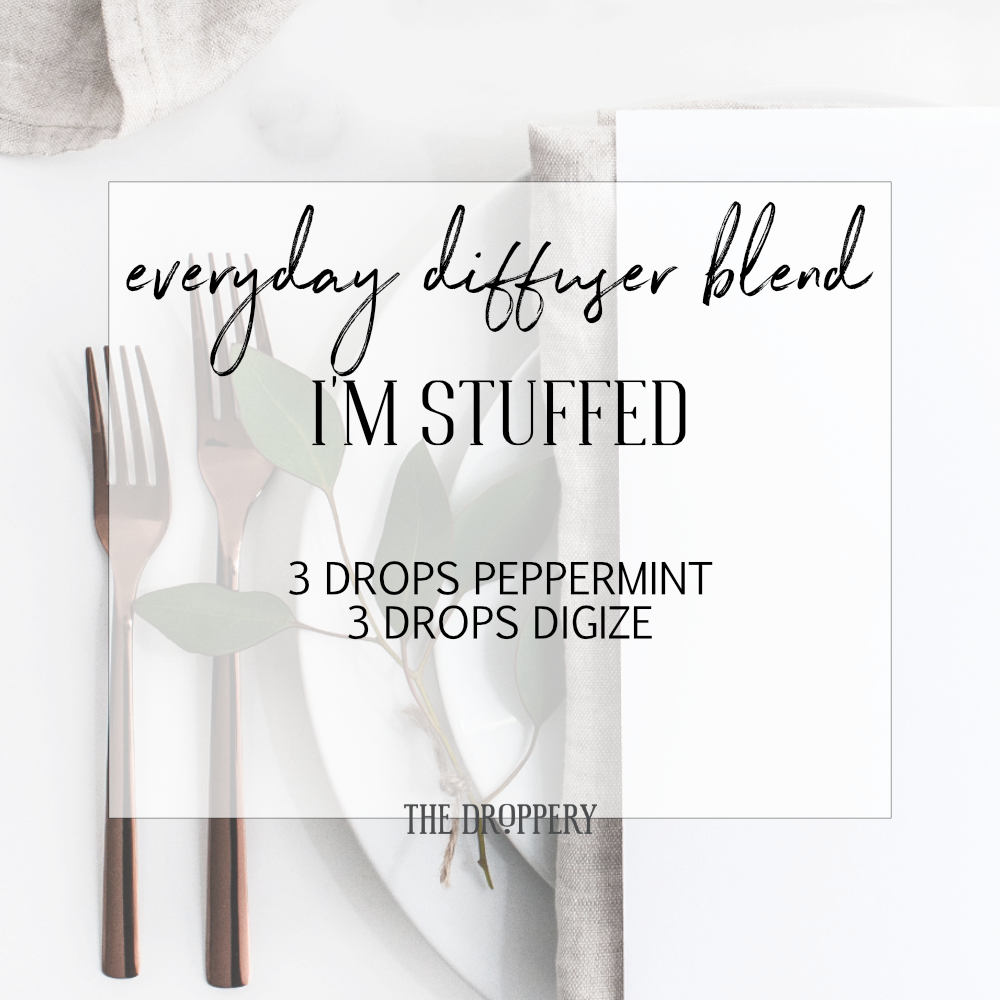
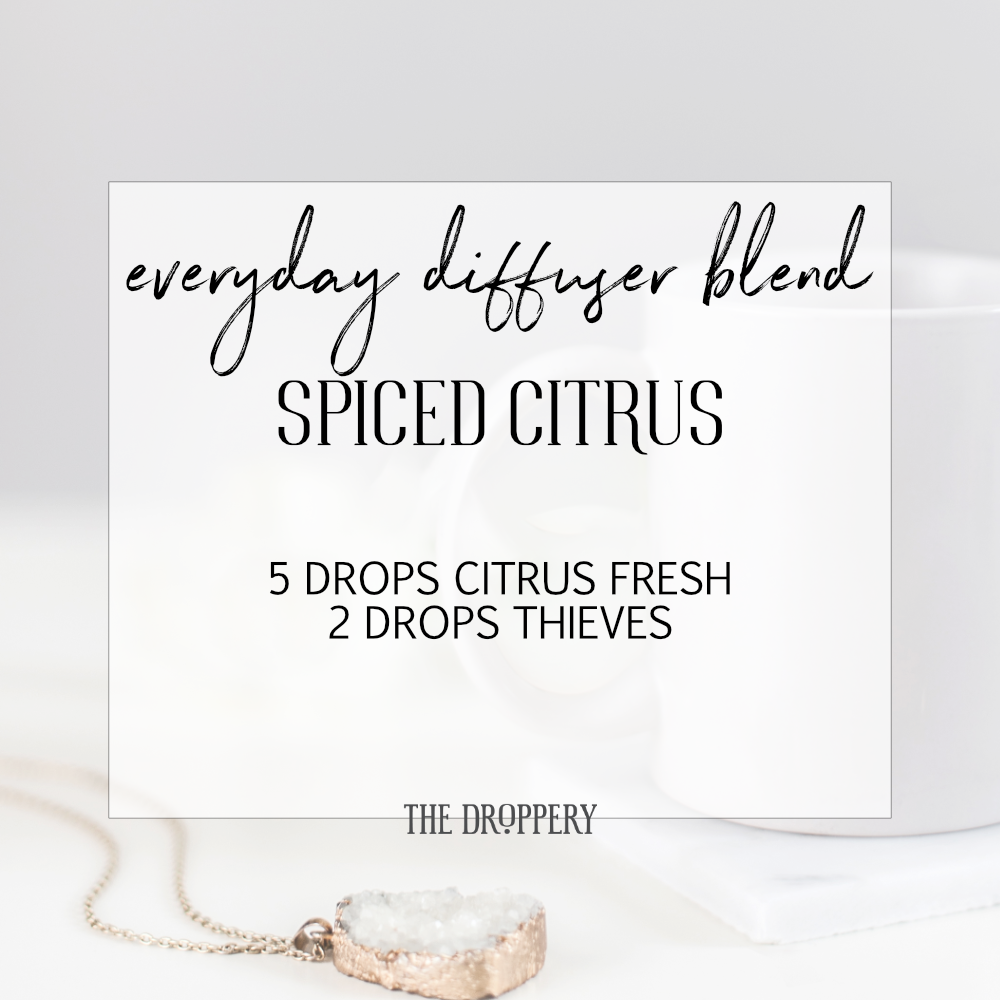
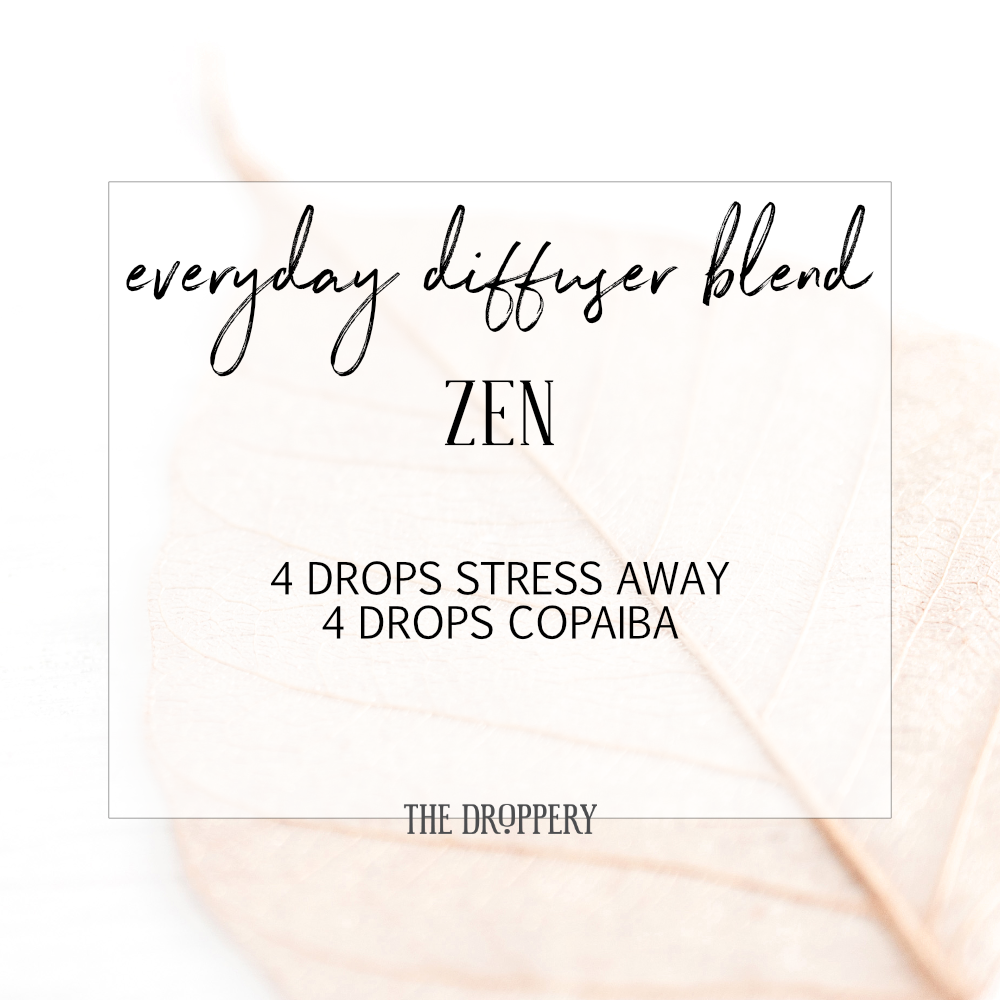
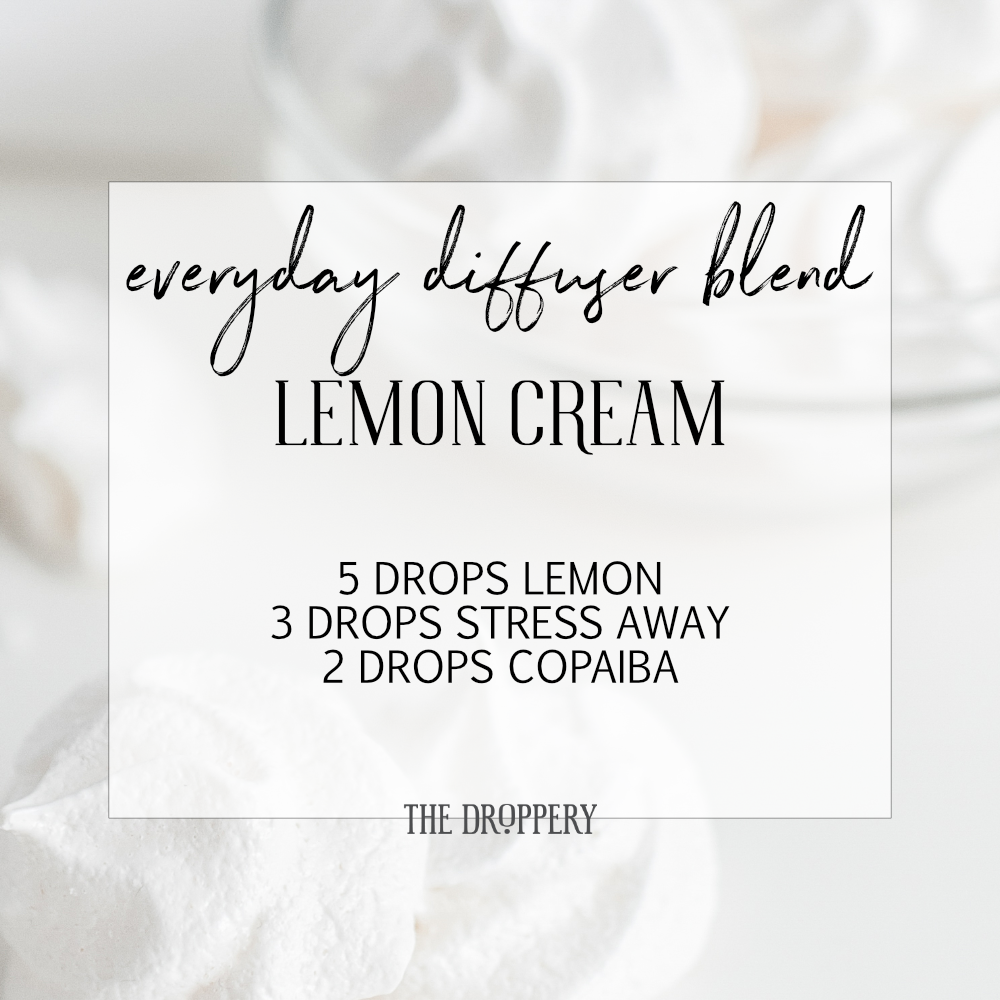
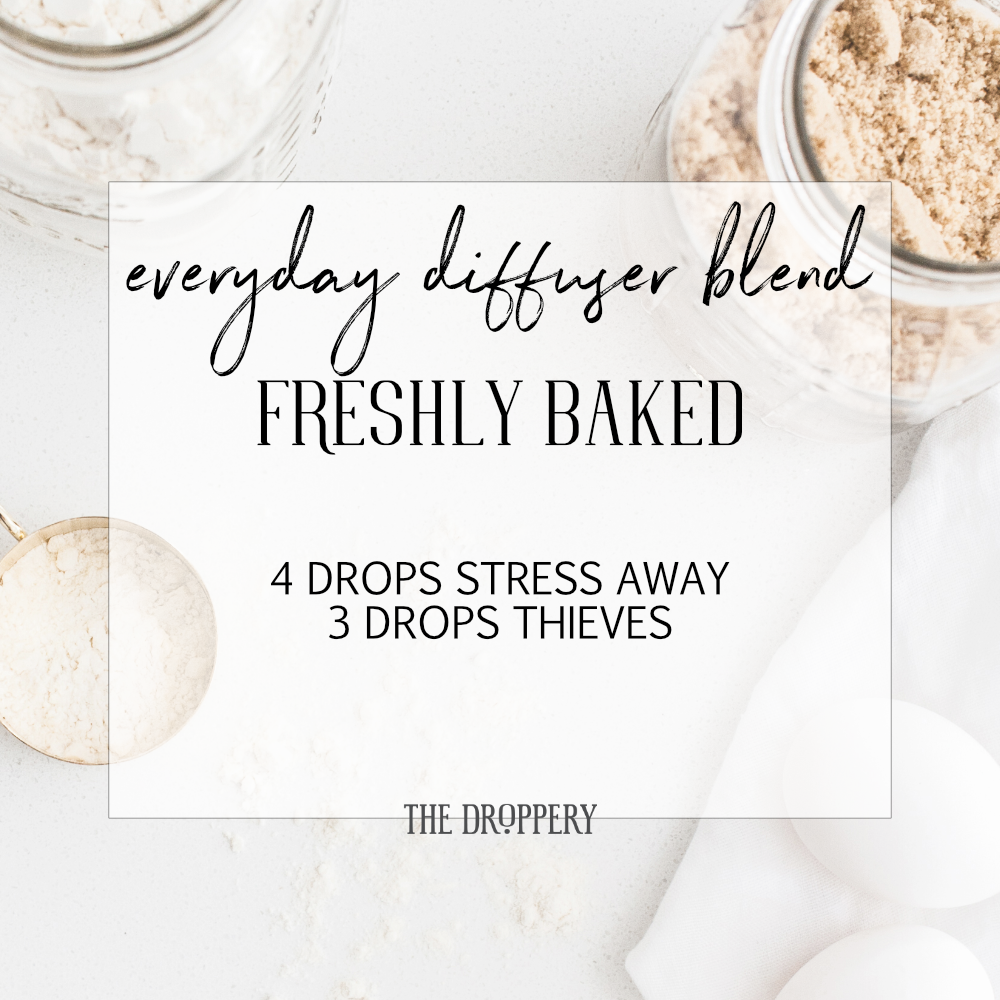
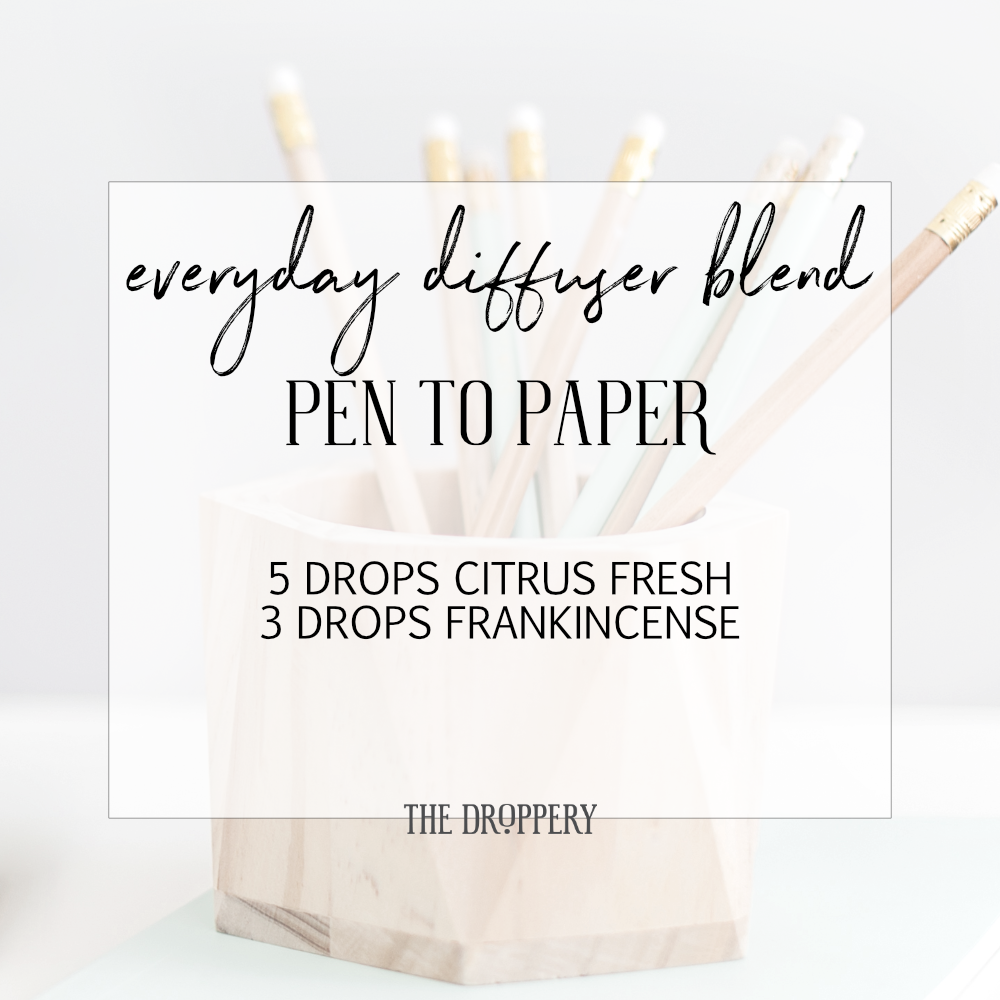
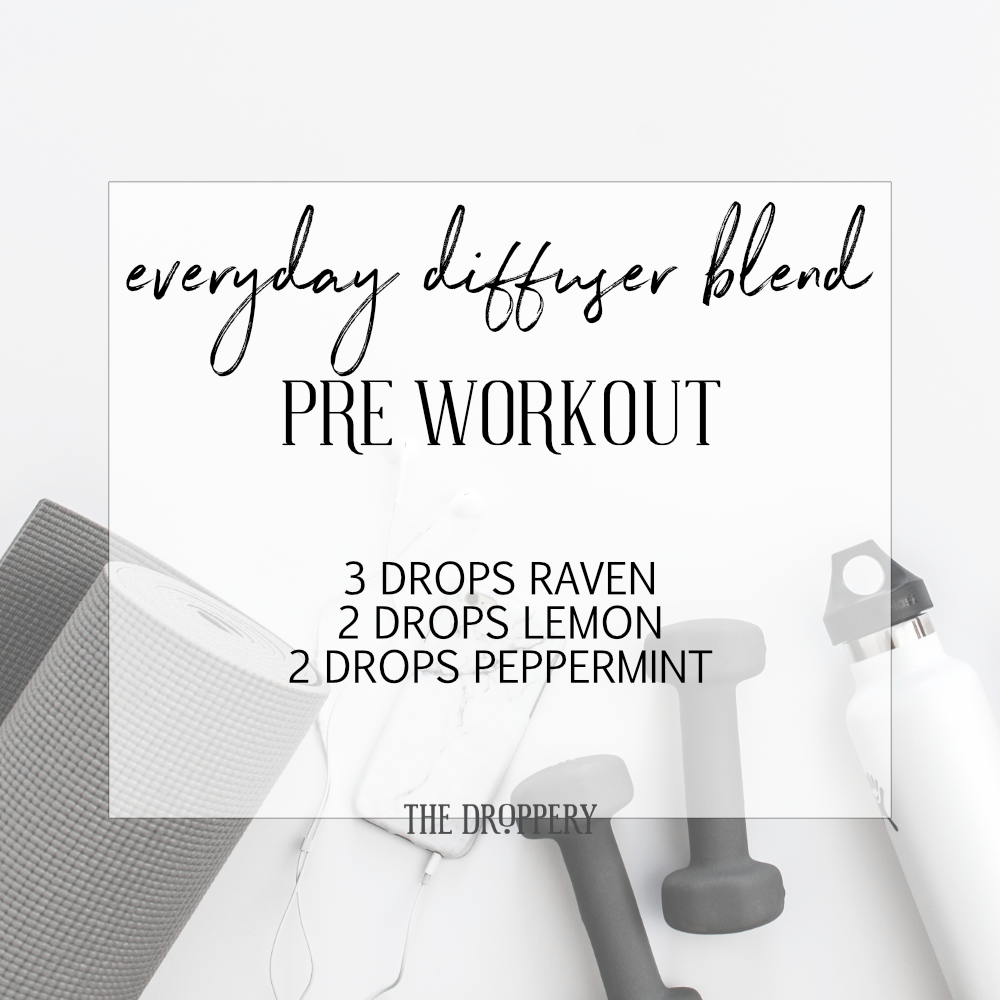
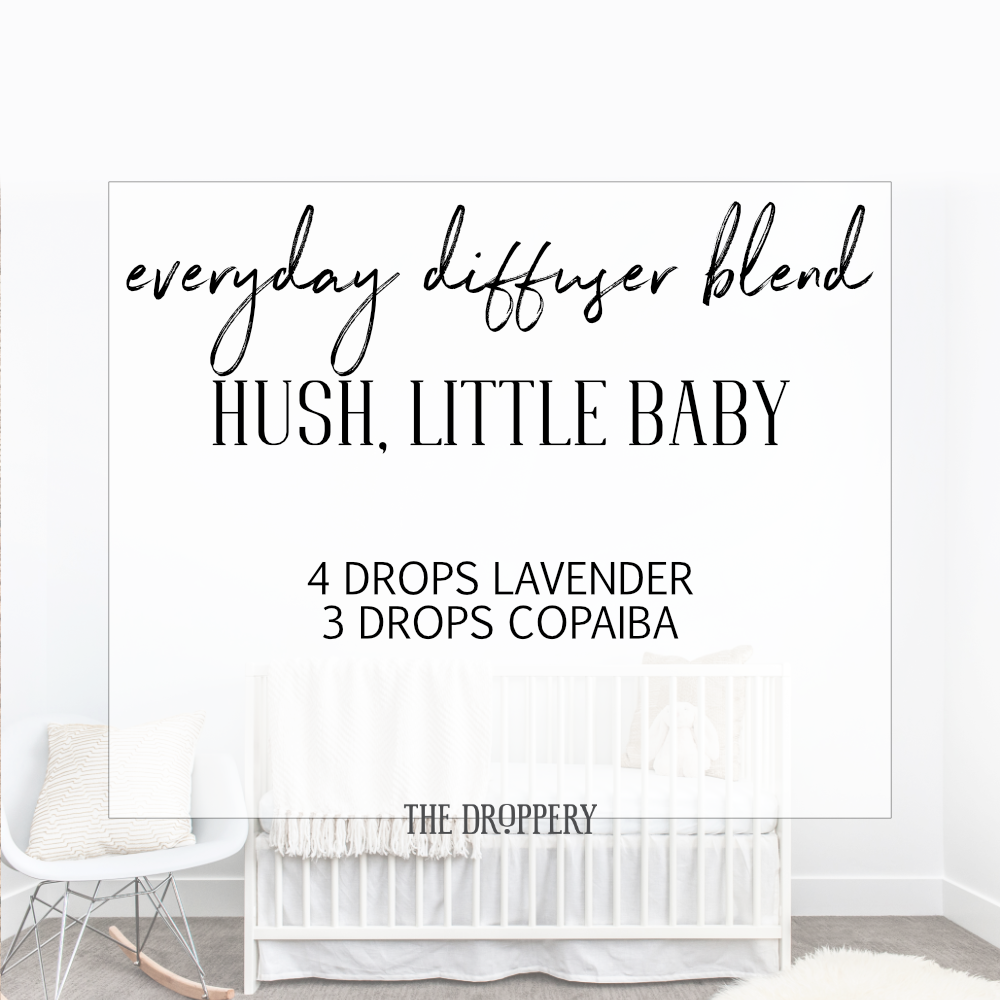
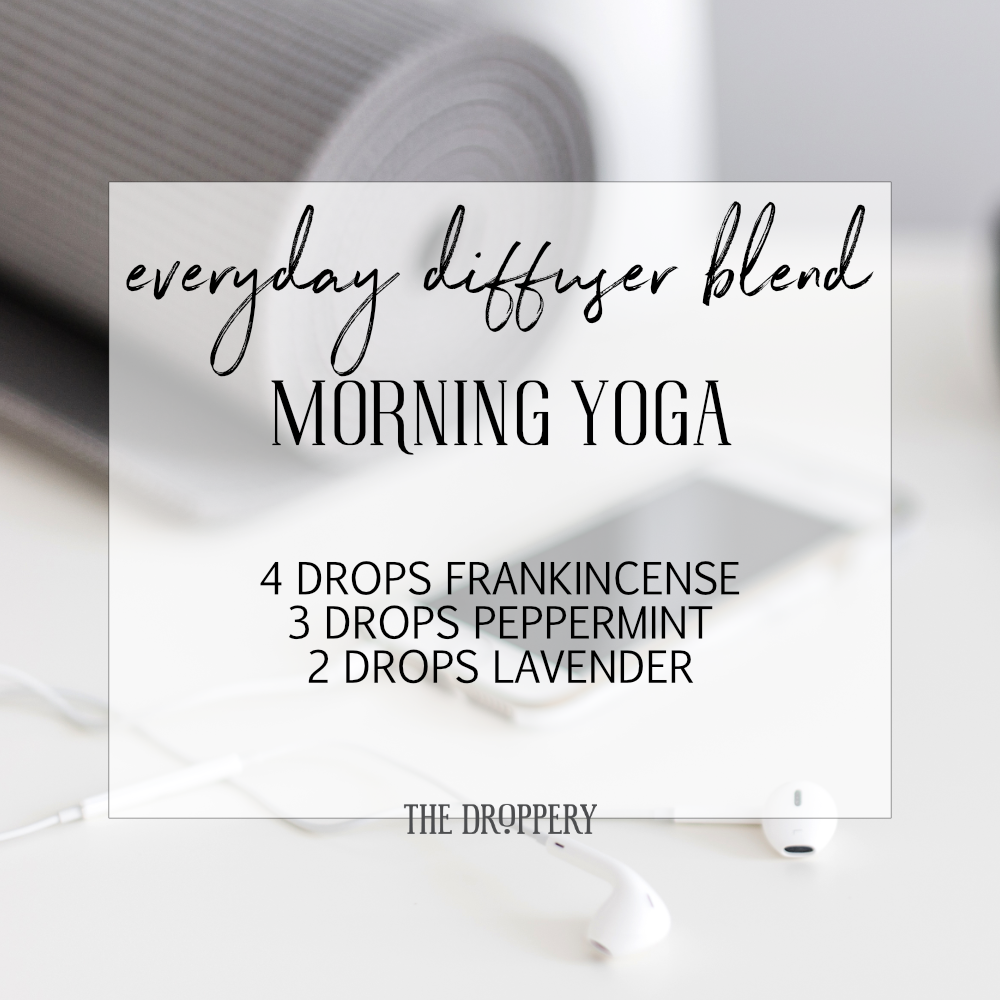
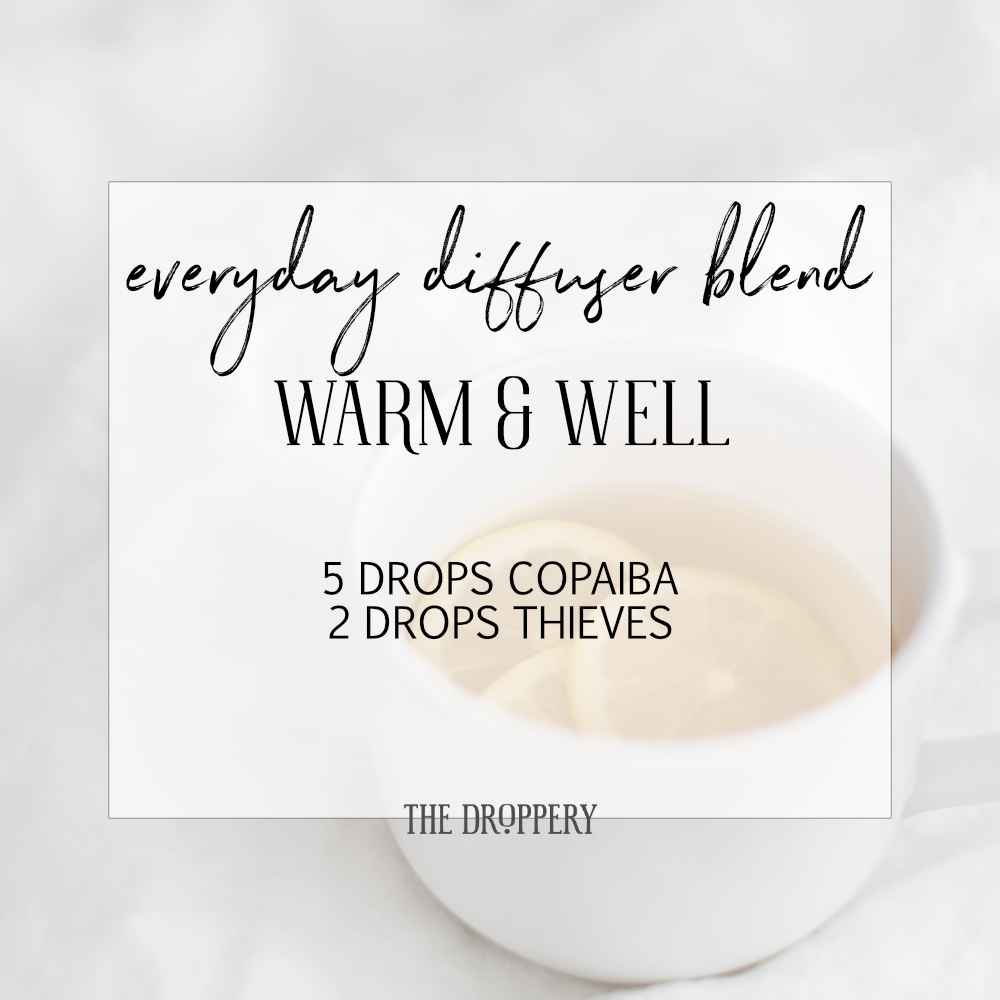
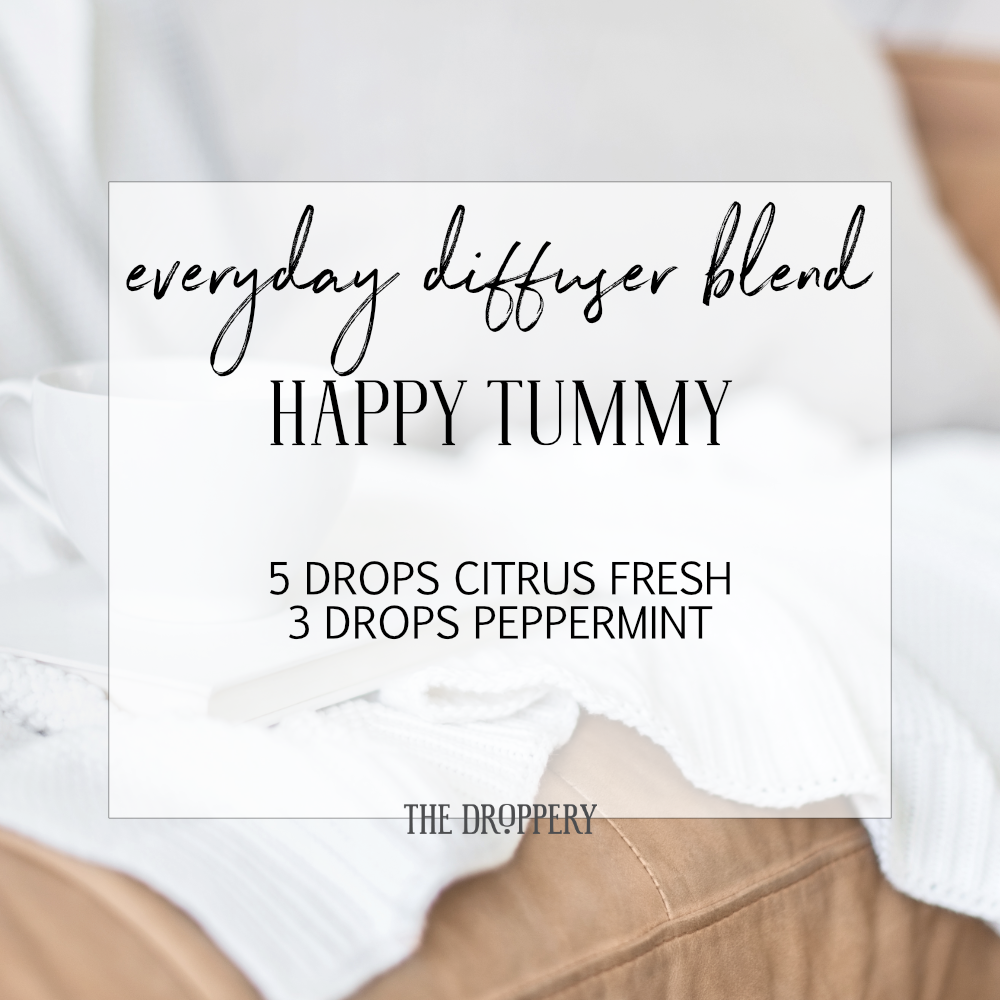
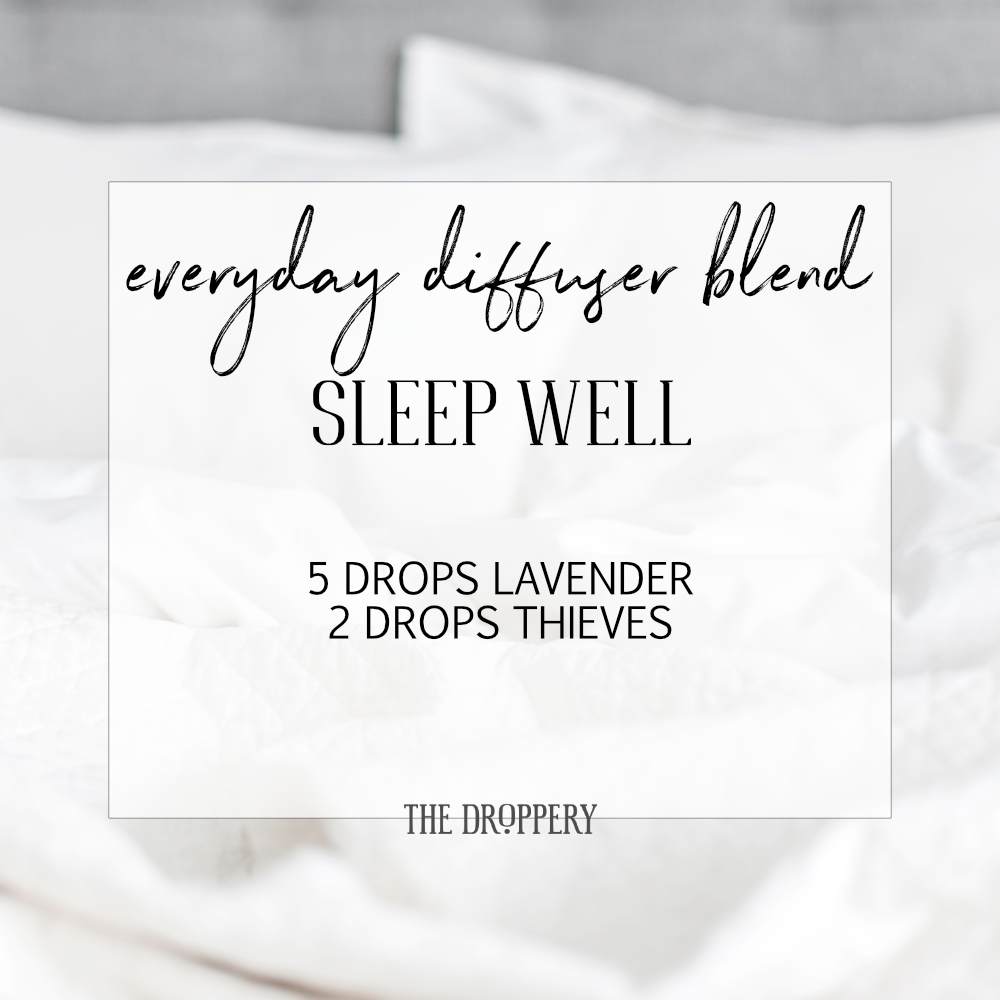
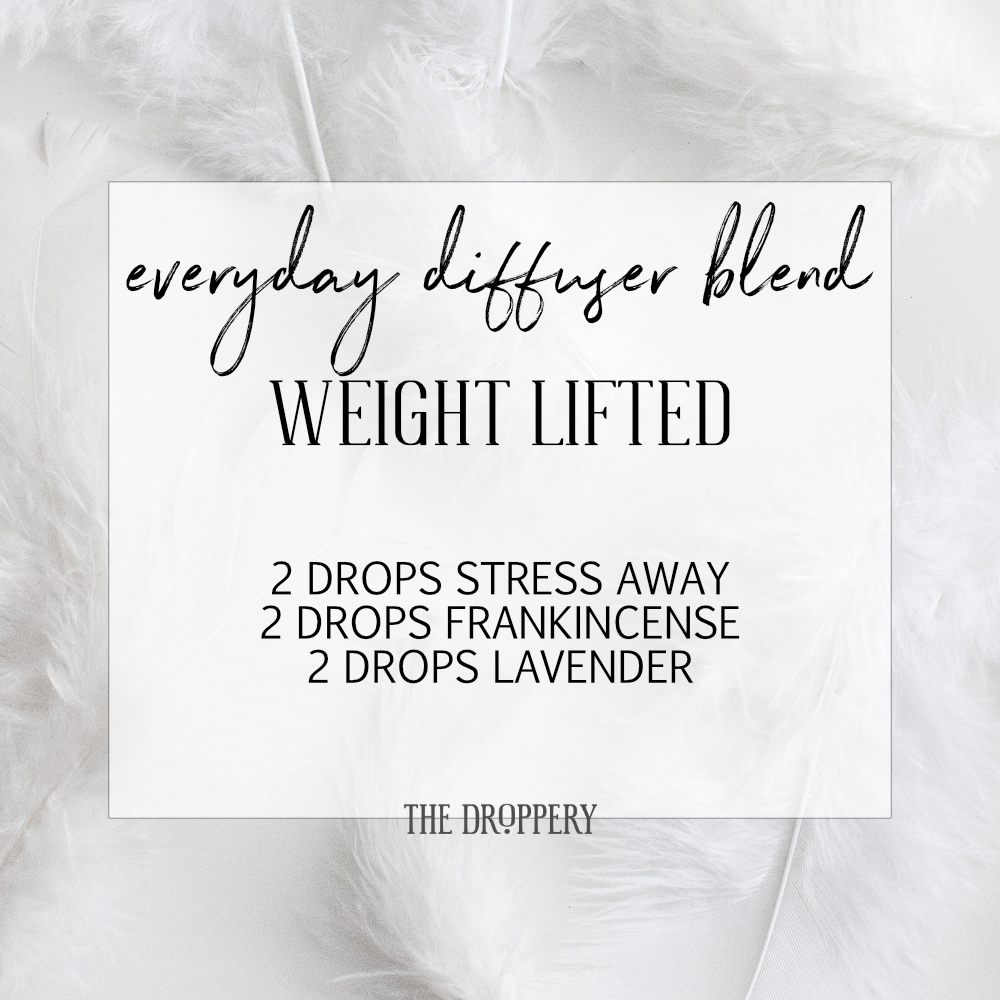
If you have your starter kit aren't totally sure where to start, we've got you. Diffusing is an awesome way to dip your toe in and fall in love! Those oils you've got in that kit are so incredibly versatile and they are oils I still grab on the regular. 

The oils smell amazing on their own in the diffuser, so you might just start with a single oil or blend each day to get to know them as they are! 

Once you have gotten acquainted with them all, here is some inspiration! Challenge yourself to try one new recipe each day!


Remember, there aren't really any rules when it comes to diffuser blends. Don't be afraid to try new things - you might find your favorite new diffuser recipe that way! If you find a really good one, be sure to share the love! 

Don't have oils yet? Click HERE and get ready for clean living made SIMPLE! 

Why We Hoard Certain Oils
why_we_hoard_certain_oils.png

Some oils were meant to be hoarded. Seriously! Let me tell you why.

YL oils are the BEST and are 100% a product of the earth, with it's changing climate and different seasons. Sometimes there is an unfavorable growing season. This could mean there just isn't enough of the plant to even harvest, or that the quality of the oil is not up to our standards.

YL will *not* sacrifice standards. They would rather lose money than sell us an oil that is less-than the best. So, sometimes that means we have a limited stock and only one 5ml bottle per account can be purchased each month. Other times, there is only enough of a single to create the blends and the single remains out of stock. There are times when both the single and the blends it is a part of go out of stock for extended periods of time.

This is a good thing! Sustainability is a priority and that speaks volumes. Quality is a priority and that speaks volumes.

An easy way to know if an oil is worth hoarding is if it has a limit on it. Any oil with a limit to how many you can buy per account each month is worth hoarding. Any oil that you use often or would need, without substitutes, in certain situations is worth hoarding. Any oil you use daily is worth hoarding. Oils like SleepyIze, Peace & Calming, Valor, Deep Relief, RutaVala, Goldenrod, Frankincense, Helichrysum, and Sandalwood come to mind!

There is nothing as satisfying as a stockpile of your very favorite and most precious oils. You can never have too many.

Essential Spring Collection
essential_spring_collection.png

SPRING.

Winter has thawed and new life springs forth. It's a time of renewal and brings with it fresh smells of cut grass, blossoms and a warmer breeze. This collection goes deeper into the essence of spring - beyond the blooms. We hope you will enjoy these freshly curated blends we've put together just for you. 

SPRING TIPS:

YOUR FAVORITE LIGHTWEIGHT SCARF MAKES A LOVELY DIFFUSER FOR ANY OF THESE OILS OR COMBINATIONS.

ADD A FEW DROPS OF LEMON ESSENTIAL OIL TO YOUR FRESH CUT FLOWERS TO HELP THE WATER STAY FRESH LONGER.

MOST OF THE COMBOS WOULD MAKE A LOVELY PERFUME WHEN USED IN A ROLL-ON OR DABBED ONTO THE WRIST.

MOST OF THESE OILS ARE VERY SUPPORTIVE OF FEELING CALM, HAPPY AND CENTERED.

ESSENTIAL SPRING COLLECTIONS

  • Basil
  • Black Pepper
  • Cedarwood
  • Eucalyptus Radiata
  • Geranium
  • Inner Child
  • Jasmine
  • Joy
  • Lavender
  • Lemon
  • Lemon Myrtle
  • Orange
  • Palmarosa
  • Patchouli
  • Peppermint
  • Pine
  • Sacred Frankincense 
  • Stress Away
  • Transformation
  • Ylang Ylang

ESSENTIAL SPRING COLLECTION ADD-ONS*

  • Bergamot
  • Blue Cypress
  • Citronella
  • Gathering
  • Neroli
  • Rose
  • Tangerine

Have fun with these blends. Swap out Cedarwood for Sandalwood for a luxurious spin on your favorite blends. Also, try swapping the different florals out for one another - for instance, you could use Palmarosa in place of Rose. 

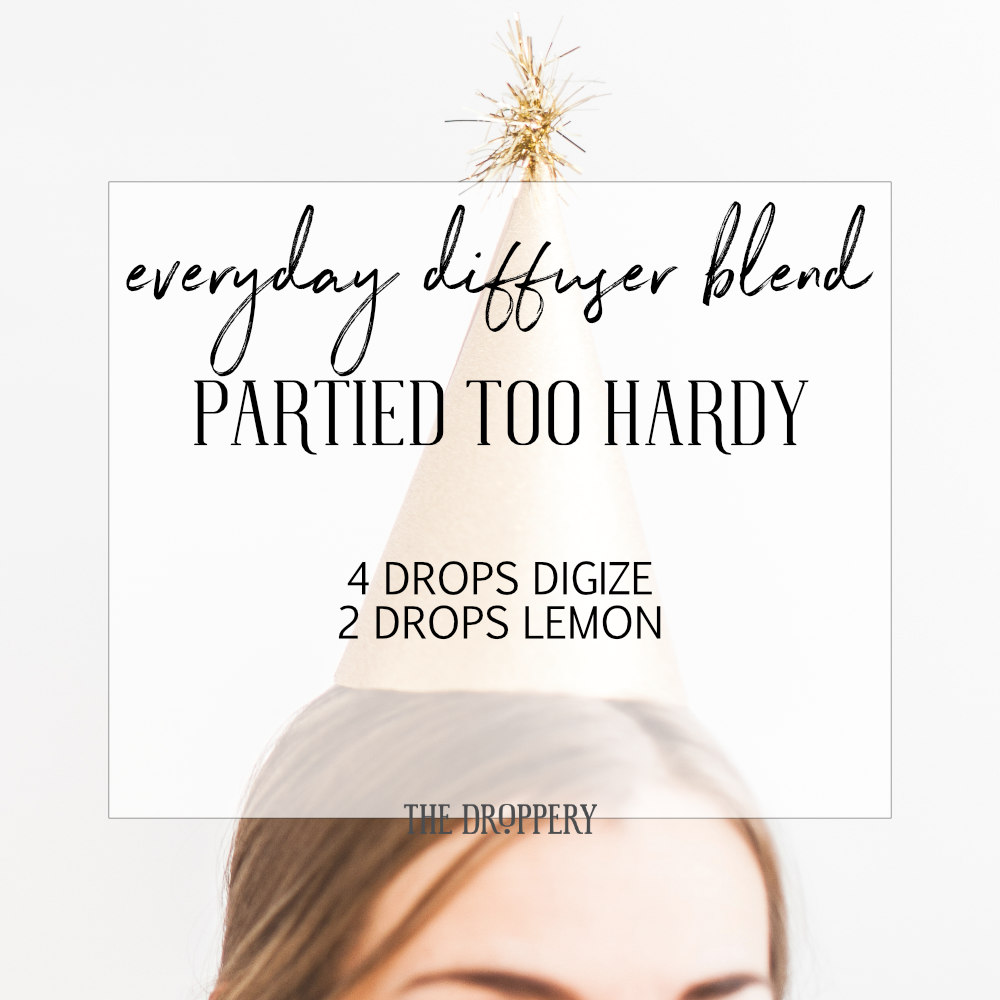
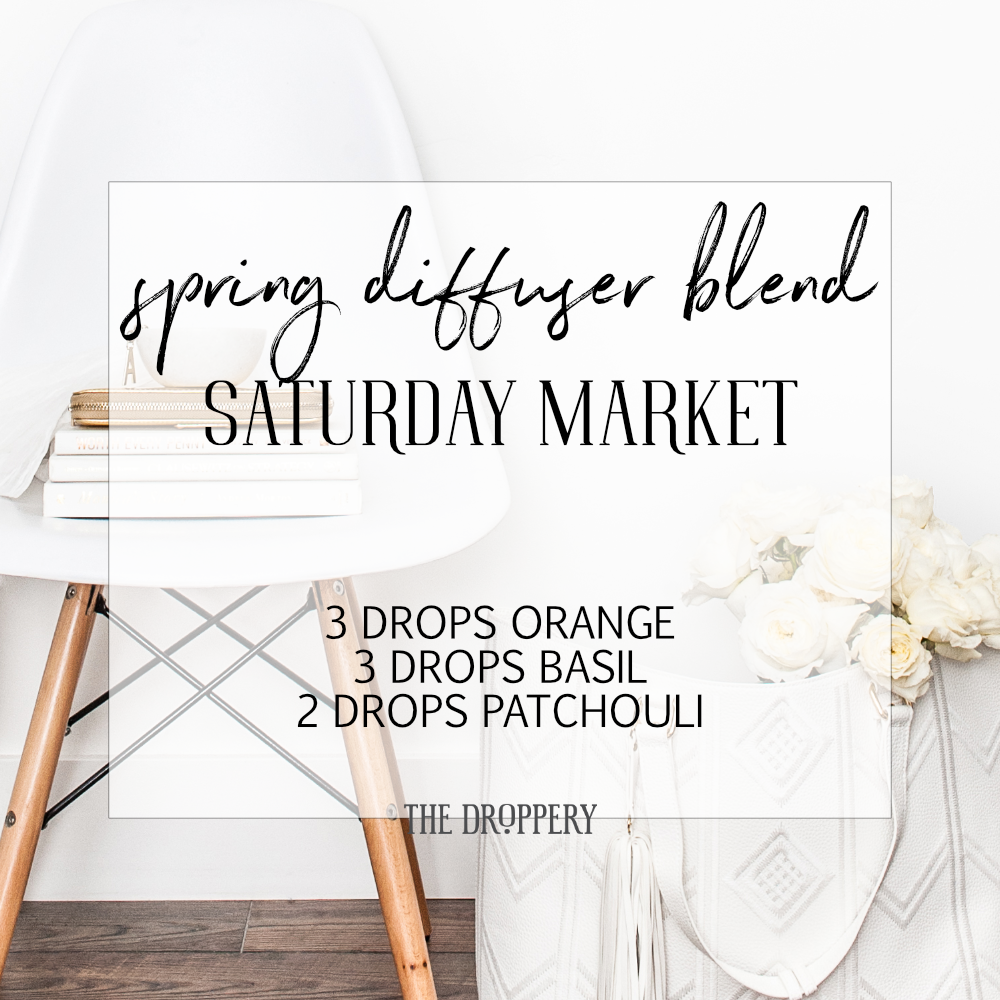
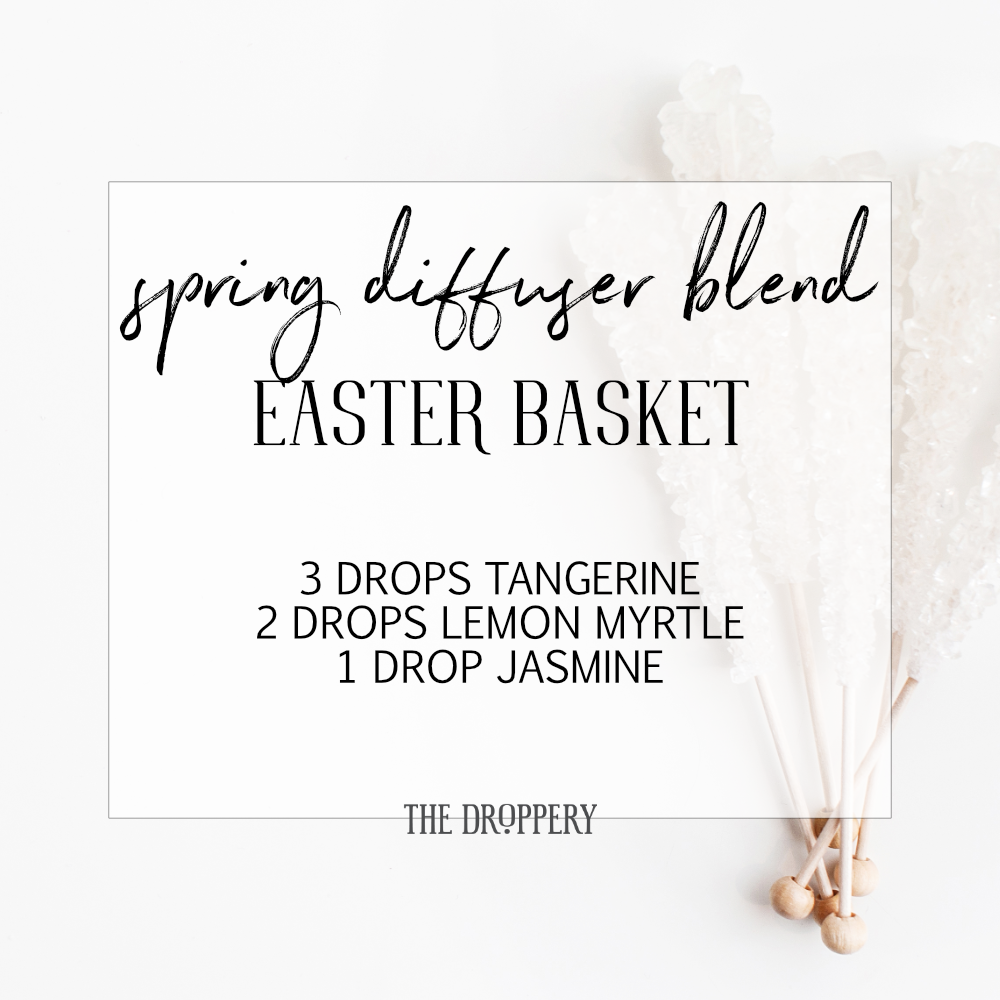
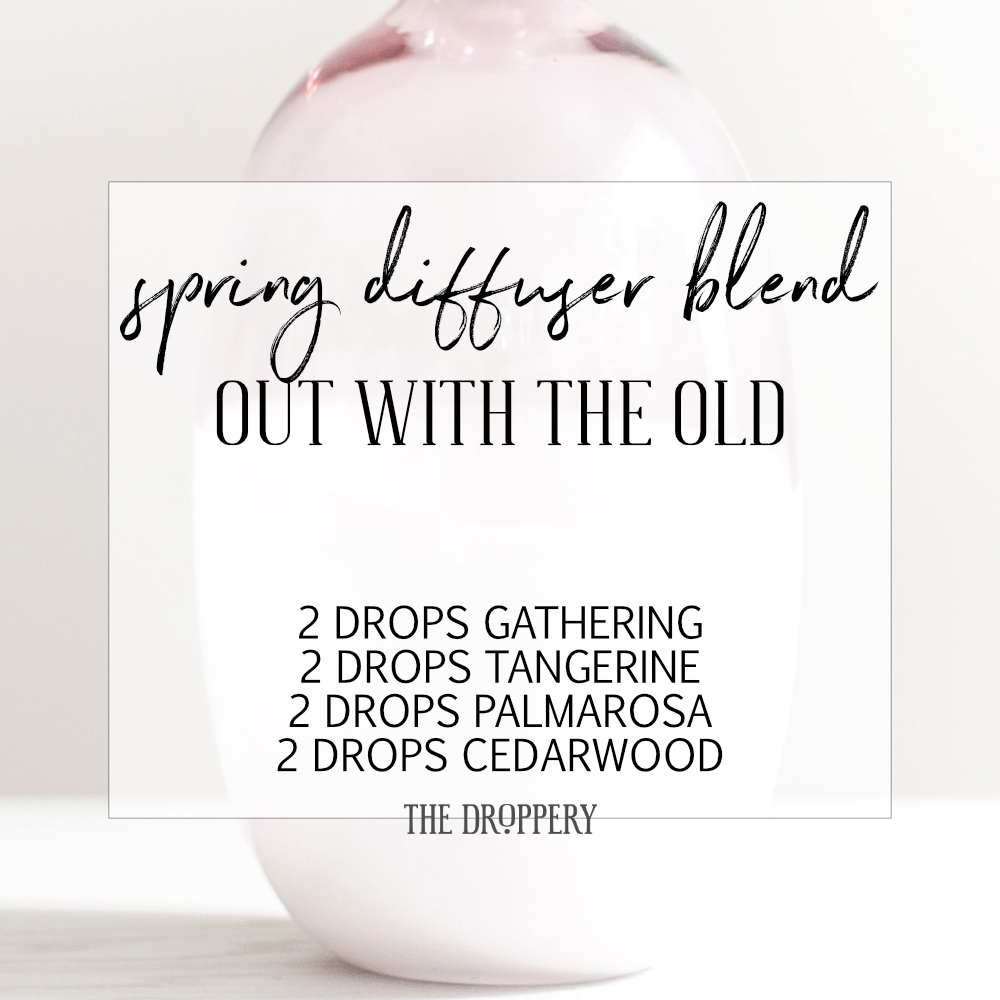
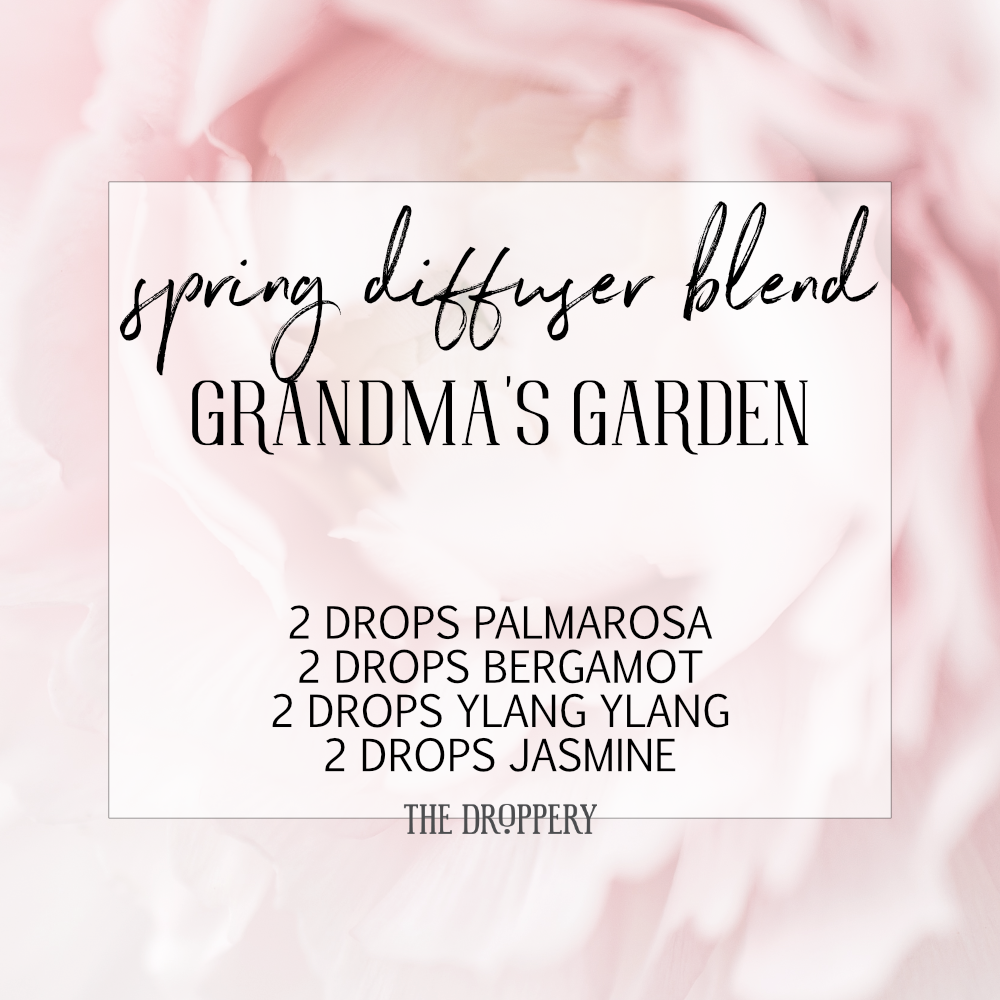
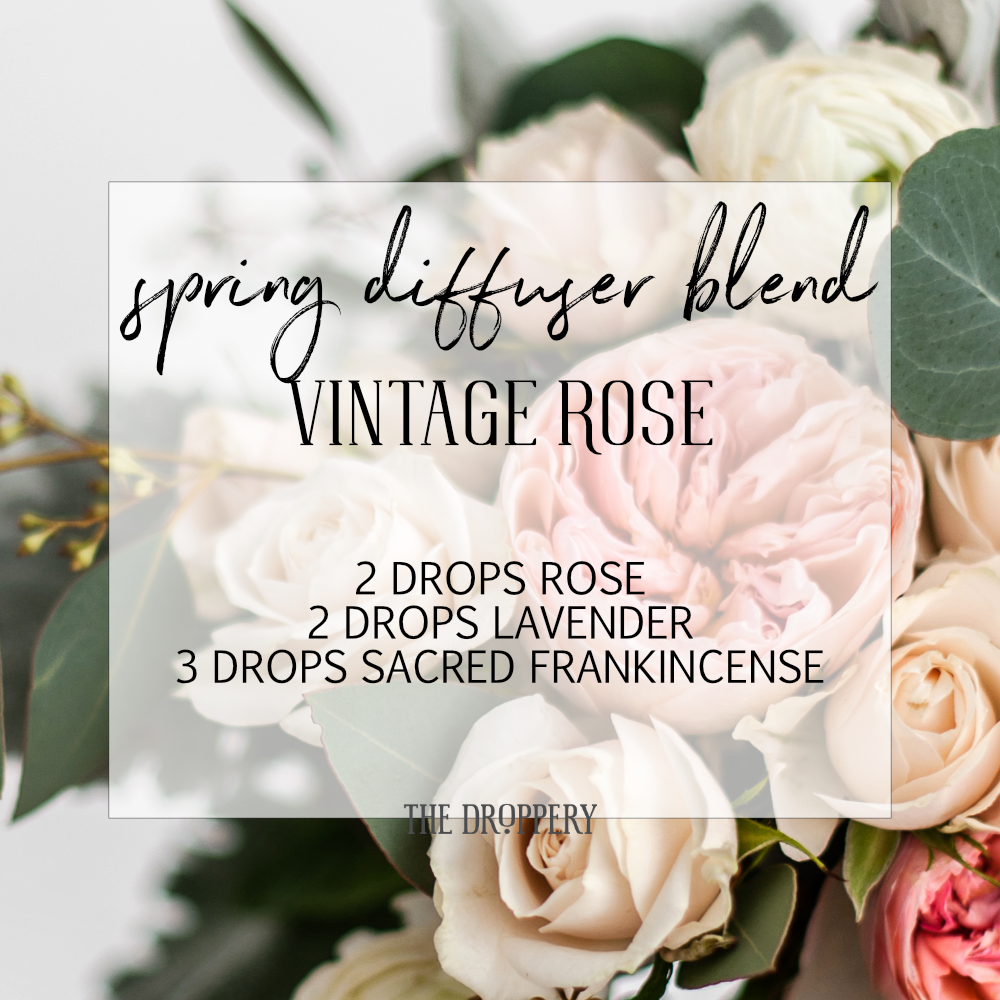
SPRING DIFFUSER BLENDS

These blends are great for the diffuser, but are also great for making linen sprays, room sprays, or even roll-on scents.

Homemade Coconut Creamer

A great base for any essential oil tea is homemade coconut creamer. It’s very easy to make and so much cheaper than store bought coconut milk. Also, it’s just coconut with water and none of the preservatives and thickeners. Simplicity is the name of the game!

The ratio of coconut to water makes a big difference in achieving a creamy consistency or having hard fat rising to the top when refrigerated.  After much experimentation, I found a ratio that works for me every time. Thick and creamy with zero separation! It takes a little patience, but there’s very little hands-on time involved. I promise the results will be worth the wait! **This recipe is a great way to give essential oils to kids. (See instructions at bottom)

Homemade Coconut Creamer

YOU WILL NEED:

  • 4 cups COCONUT FLAKES – I buy coconut flakes from Tropical Traditions because of their quality and care for the environment. They are reasonably priced and offer free shipping one Monday a month.
  • 6 cups hot filtered water – the amount used will vary slightly depending on your coconut flakes so you may not use all of it.
  • a high-speed blender – I recommend the VitaMix
  • a nut/rice milk bag – THIS is my favorite bag. It is very sturdy and durable. You can also substitute the bag with layers of cheese cloth.
Homemade Coconut Creamer

HOW TO MAKE IT:

  1. Place coconut flakes into blender pitcher.  I shake the pitcher a little so flakes are more compact.
  2. Pour hot or steaming water over flakes up to the  5-1/2 cup measurement line.  Note: you are not adding 5 1/2 cups of water, just filling the blender to that point.
  3. Blend for about two minutes on high then let sit for 30 minutes to an hour minimum. Letting it sit longer won’t hurt. Blend again for two minutes then sit for 30 minutes to an hour before finishing it off by blending for two minutes one more time. I let the flakes soak for up to three hours. Two will work also but I have tried 1/2-1 hour and results are not as creamy.
  4. Place your nut bag into a bowl or 8-cup measuring cup and pour the pulp into bag. Squeeze the milk out of the bag into bowl or measuring cup. You may need to let it sit a short time to cool a little first as the blending heats it up.
  5. Refrigerate. Give it a quick shake or stir before using and enjoy! This will keep nicely for 5-6 days.

NOTE:  If the measurements are off by just a little, the blender may not be incorporating all of the mixture. If that happens, add water 1 tablespoon at a time to ensure it is mixing well.  I have not had to add more than 2  tablespoons.

Homemade Coconut Creamer

I use this as is but you can sweeten or flavor any way you like. This recipe can easily be made into coconut milk by adding more cold water prior to drinking. You can also just make coconut milk by using the ratio 1 part coconut flakes to 2-1/2 parts water, but you will end up with the fat floating to the top and hardening in the fridge and it will likely have to be blended smooth before drinking the first time.

Pro tip: Don’t throw away that pulp! Use a 1:1 ratio and pour water onto the pulp then go through the same soaking and blending process again. You’ll get a nice coconut milk out of it!

**This recipe is a great way to give essential oils to kids – big and little alike. Just drop a drop of essential oil into the bottom of a glass, cover with coconut cream and stir. Because it naturally has lots of good fats in it, the oils will be well diluted so as not to irritate their mouth or stomach. It will also keep away the oily burps. That’s a real thing!

Homemade Coconut Creamer
NingXia & Elderberry Cremosa

This is officially my new favorite use for Elderberry Syrup!

If you've never heard of a Cremosa, think of it as an Italian Soda with cream added. I remember going to an Italian restaurant as a child and ordering them. It was so good and probably full of refined sugar, food coloring and who-knows-what-else. 

This is guilt-free and boosts our wellness all while tasting amazing! All those vitality oils in my elderberry syrup recipe give it serious flavor! 

ELDERBERRY & NINGXIA CREMOSA

  • 6oz Sparkling Water (Alta Palla Wild Berry works great for this)

  • 2oz NingXia Red

  • 1oz Elderberry Syrup w/ Essential Oils

  • 2oz coconut cream (Califia Farms BetterHalf Vanilla is my favorite)

Pour it all into an 8oz glass, stir, and enjoy! 


Food & DrinkKimberly Laird
ESSENTIAL WINTER COLLECTION
cover_essential_winter_collection_website.png

WINTER.

Cold crisp air, cozying up fireside, twinkle lights everywhere and holiday tunes filling the air! This time of year brings with it all the nostalgic, comforting smells. I’ve put together a quick list of Winter oils to add to your collection. These are so good in the diffuser and almost any combo will be amazing. They also build seamlessly upon the oils we used so much during the Fall and will fill your home with festive, delicious smells!

WINTER TIPS:

YOUR FAVORITE SCARF MAKES A LOVELY DIFFUSER FOR ANY OF THESE OILS OR COMBINATIONS.

ADD A FEW DROPS OF PINE OR LEMON ESSENTIAL OIL TO YOUR TREE WATER TO KEEP IT FRESH LONGER.

USE A DROP OR TWO OF THE VITALITY OILS IN PLACE OF DRIED HERBS OR SPICES IN YOUR FAVORITE RECIPES (PIES, SOUPS, MULLED CIDER, ETC.). THE DIFFERENCE IN FLAVOR IS DRASTIC!

MOST OF THESE OILS ARE VERY SUPPORTIVE OF THE IMMUNE SYSTEM AND CAN BE SUPPORTIVE OF STAYING ABOVE THE WELLNESS LINE THIS SEASON.


ESSENTIAL WINTER COLLECTIONS

  • Thieves
  • Christmas Spirit
  • Cinnamon Bark
  • Nutmeg
  • Pine
  • Northern Lights Black Spruce
  • Idaho Blue Spruce
  • Idaho Balsam Fir 
  • Believe 
  • Rosemary
  • Peppermint 
  • Stress Away
  • Frankincense 

ESSENTIAL WINTER COLLECTION ADD-ONS*

  • Cassia (a sweeter, milder cinnamon sent only found in the Oils of Ancient Scripture Collection)
  • Exodus ii (Similar to Thieves, but with a twist!)
  • Treasure of the Season
  • The Gift
  • Three WIsemen
  • Cypress (another fun tree scent to throw in the mix!)
  • Wintergreen (Try subbing this for Peppermint in some blends for more variety)

Consider adding your favorite floral or citrus oils to the spicy and evergreen aromas of winter for an unexpected and beautiful smell.

*These smell particularly amazing alongside the “fall” oils in the diffuser and will add complexity to the blends you create.


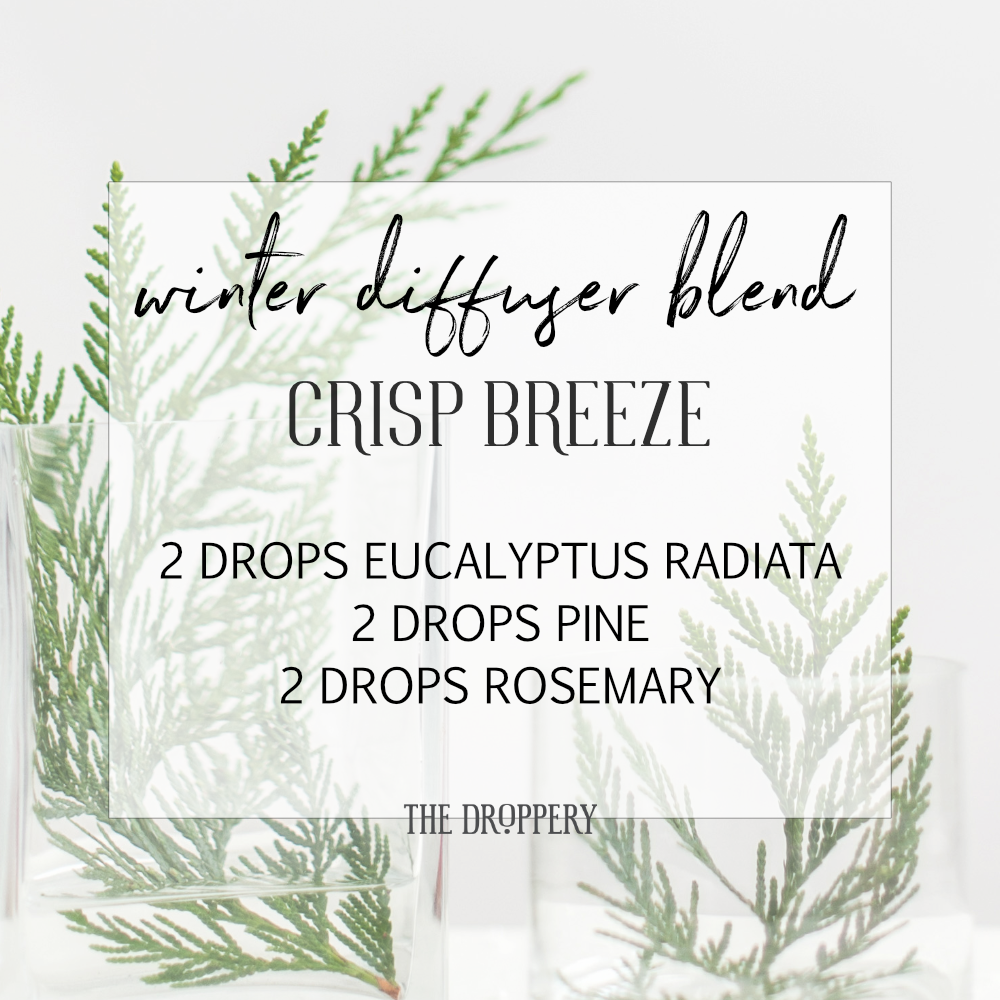
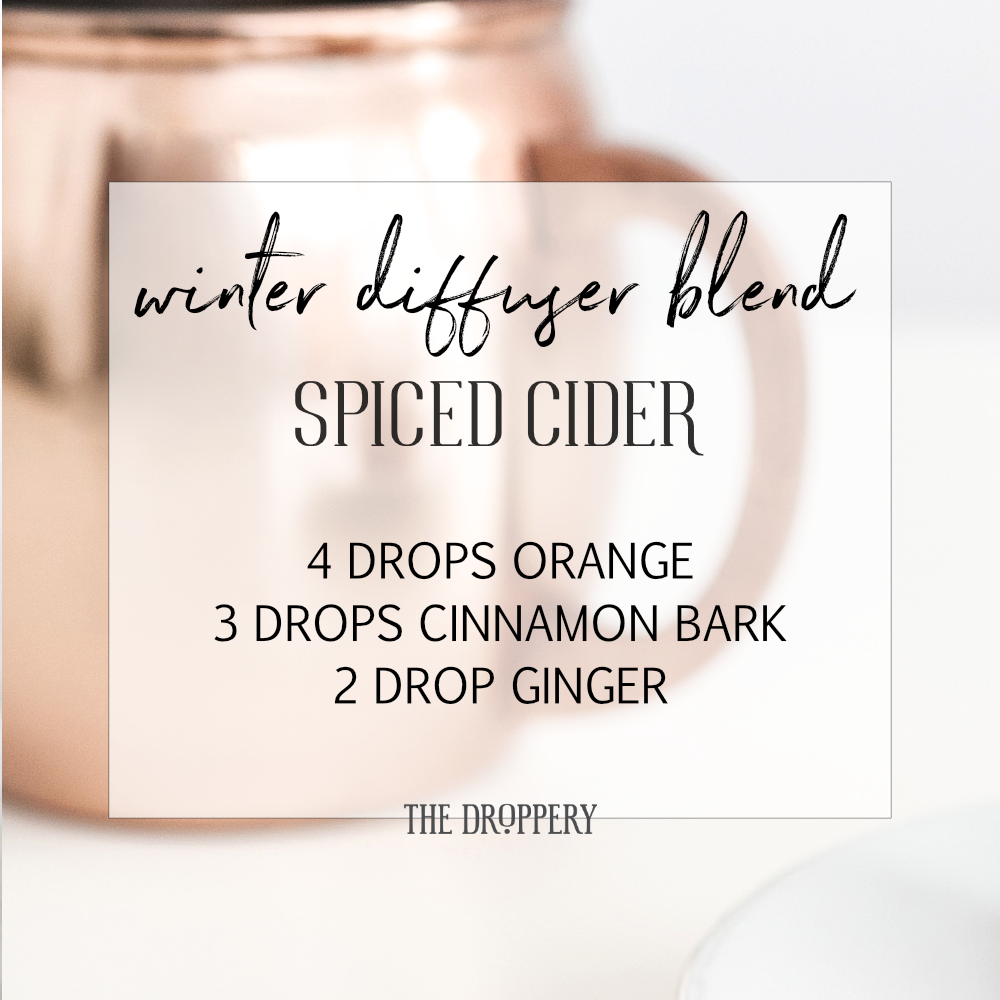
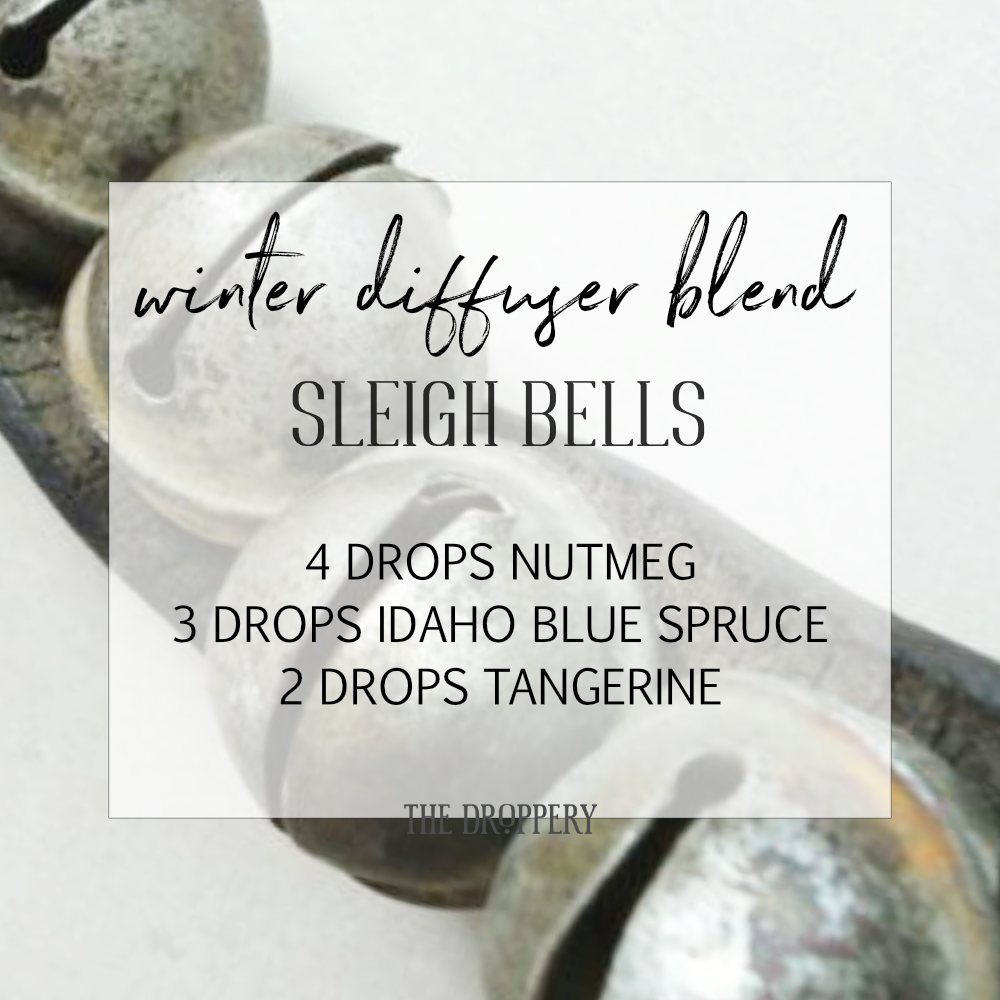
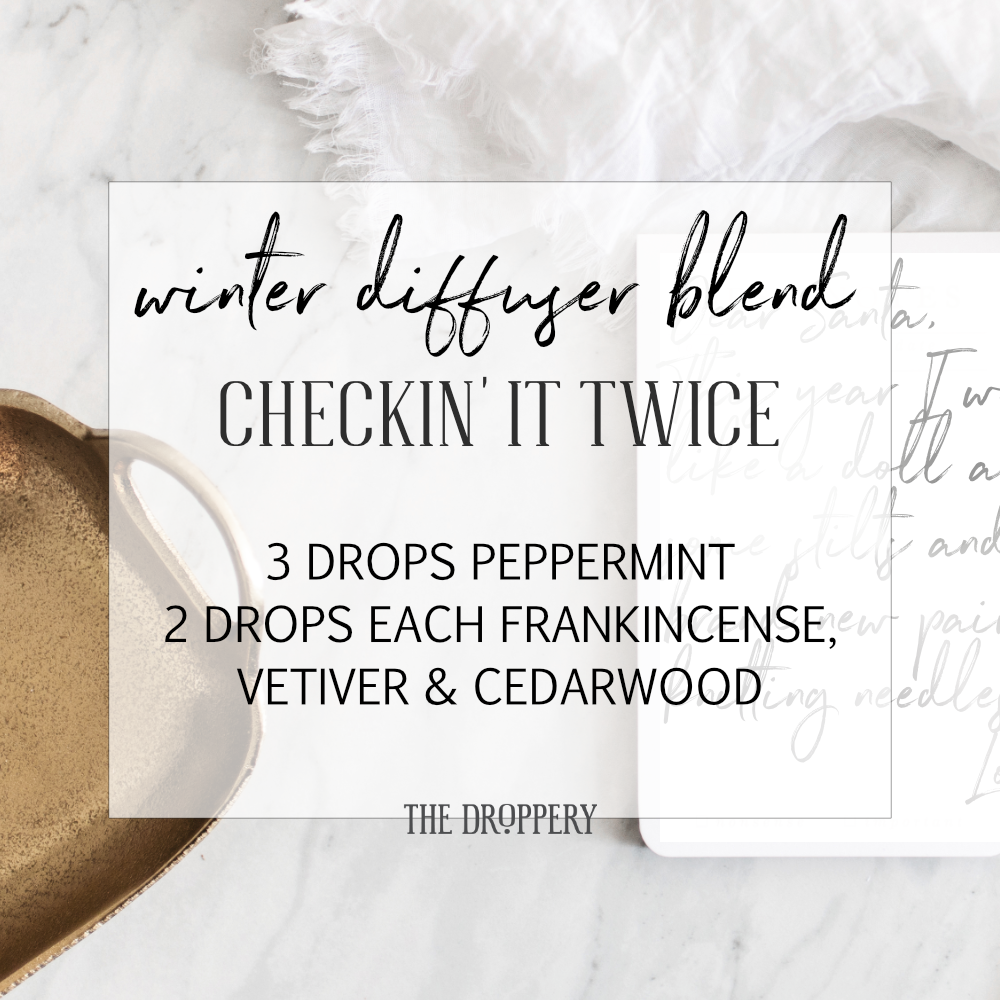
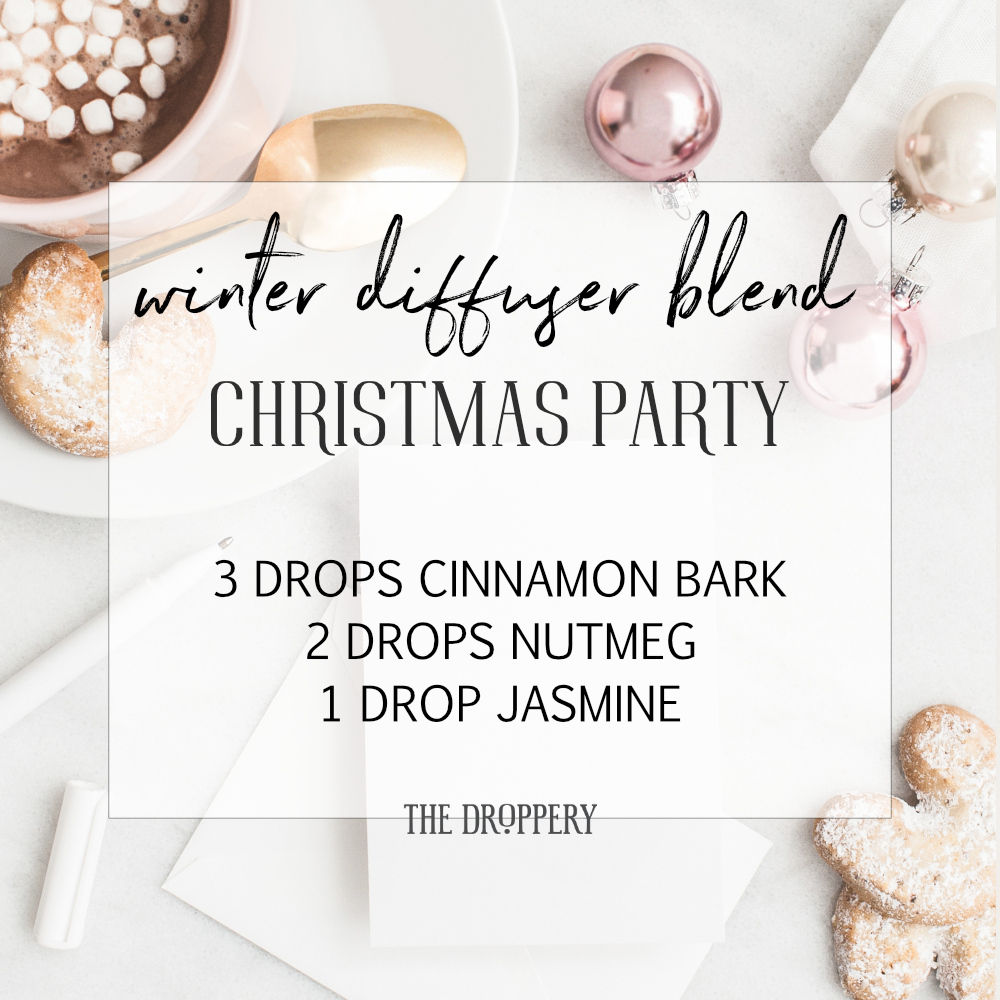
WINTER DIFFUSER BLENDS

These blends are great for the diffuser, but are also great for making linen sprays, room sprays, or even roll-on scents.

There are endless combos and smells you can come up with using these oils. Try mixing them with oils you already have in your collection, too! If a blend calls for a tree scent or cinnamony oil you don't have, sub for one that you do. Play around and have fun! There is NO wrong combo!

DiffuserKimberly Laird
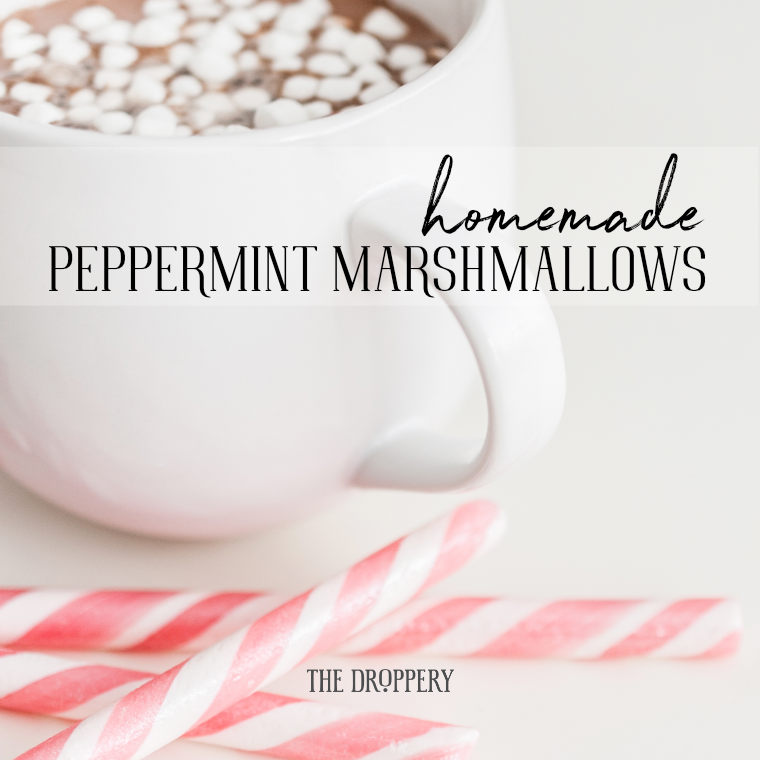
Homemade Peppermint Marshmallows
homemade peppermint marshmallows.png

Marshmallows – a quintessential cold-weather treat that comes standard with some a long list of terrible ingredients. Not exactly what I’d like to top a cup of organic homemade cacao with, that’s for sure. These homemade marshmallows have only a handful of simple, whole-food ingredients and are flavored with Young Living peppermint essential oil.

These were so much fun to make and enjoy with the kids. I hope you all enjoy them as much as we have!


INGREDIENTS:

  • 1 cup of water
  • 3 TBSP GRASSFED GELATIN (a wonderful source of protein with a reputation for serious gut-healing)
  • 1 cup RAW HONEY
  • 1 TSP homemade vanilla extract (recipe below)
  • 5-10 drops peppermint essential oil (supports digestion, boosts energy and focus, and relaxes sore muscles)
  • a pinch of SEA SALT (full of essential trace minerals)
  • (optional) 1/8 cup each of powdered cane sugar & arrowroot powder mixed to give powdery finish
  • (optional) natural RED FOOD COLORING

HOW TO MAKE YOUR MARSHMALLOWS

  1. Line a baking dish (8×8) with parchment paper and grease very lightly with coconut oil.
  2. Stir 3 TBSP grassfed gelatin into 1/2 cup water inside a mixing bowl and allow to bloom as you continue onto step 3.
  3. Over med-high heat, boil 1 cup raw honey, 1/2 cup water and pinch of salt until it reaches a temperature of 240 degrees. Remove from heat.
  4. Slowly pour honey mixture into the mixing bowl with the bloomed gelatin and stir slowly to incorporate. Increase speed to high and mix until it just becomes thick and fluffy (but not too thick).
  5. Add 1 TSP vanilla extract, 5-10 drops of peppermint essential oil, and natural food coloring (if using). For a mild peppermint flavor, use 5 drops, for a breathmint strength flavor, add a full 10 drops. I added a full 10 drops and one marshmallow gave a lovely sweet, minty flavor to hot cacao. This may be a little strong for some though.
  6. Spread mixture into greased pan and allow to sit in fridge for at least 4 hours.
  7. Remove from pan, cut into 1×1 inch squares and coat with the 1/4 powdered cane sugar/arrowroot powder to finish, if desired. (To make my powdered sugar, I placed 1/8th of a cup of raw sugar into my Vitamix and turned it on high until it became powder.) You will have leftover dusting powder, which can be reserved for the next time you make marshmallows.
  8. Top your hot cocao with one or two and CHEERS! Enjoy!

*You could add in a few capsules of probiotics when you add the vanilla extract to increase the gut-supporting properties of these delicious treats. Young Living’s Life5 probiotic is an excellent choice!

Please store your marshmallows in the refrigerator and use within 5-7 days to ensure freshness. They also freeze wonderfully if you don’t think you’ll use them all right away!

TO MAKE YOUR OWN HOMEMADE VANILLA EXTRACT, CLICK BELOW.

Food & DrinkKimberly Laird